Treasure
2021-2022
by
Yuzeng Feng
Ceramic fibre experiment (1)
001
In unit2 I used ceramic as a container for burning incense.
In my experiments, the disadvantages of ceramics are:
1. they are too heavy to wear
2. ceramic conducts heat too quickly and sometimes prevents the incense from burning
II tried to use ceramic fibre instead of ceramic as a container
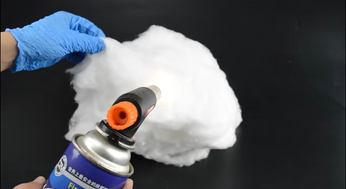

Fire-resistant
Insulation
Thermal insulation
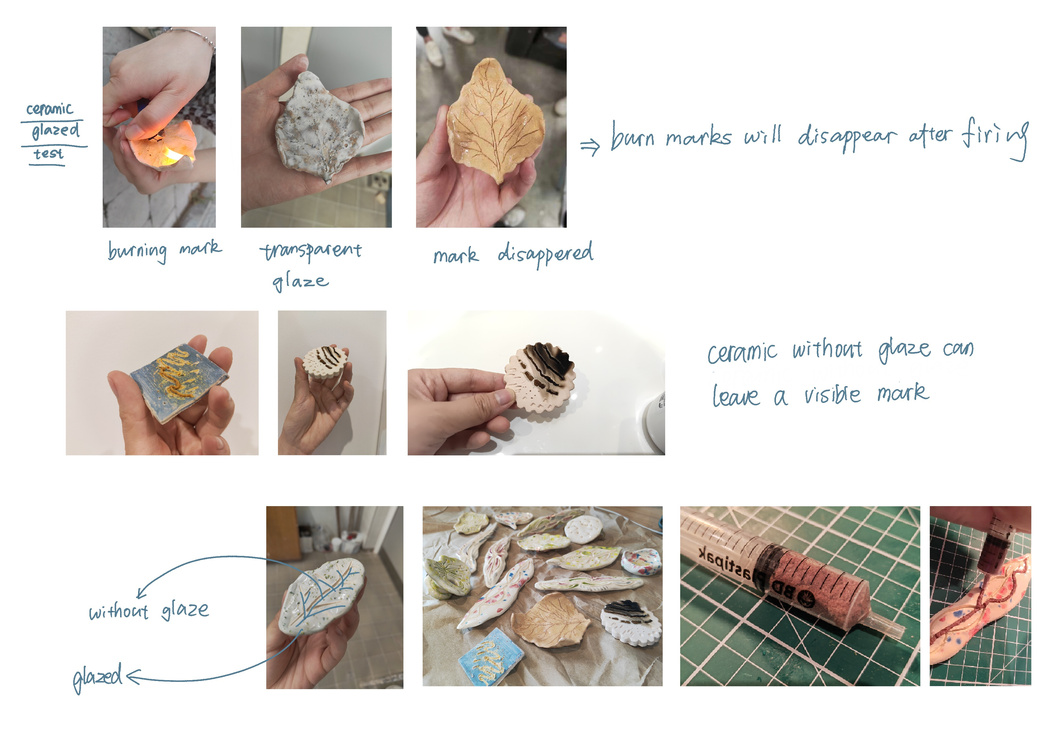
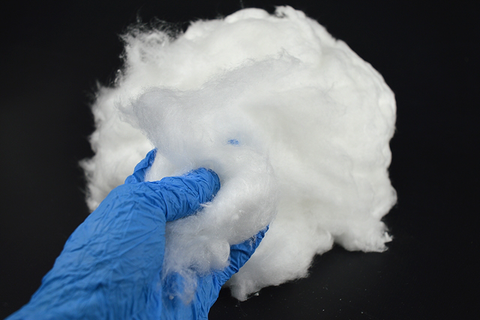
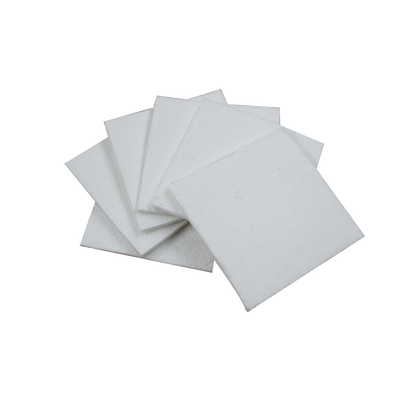
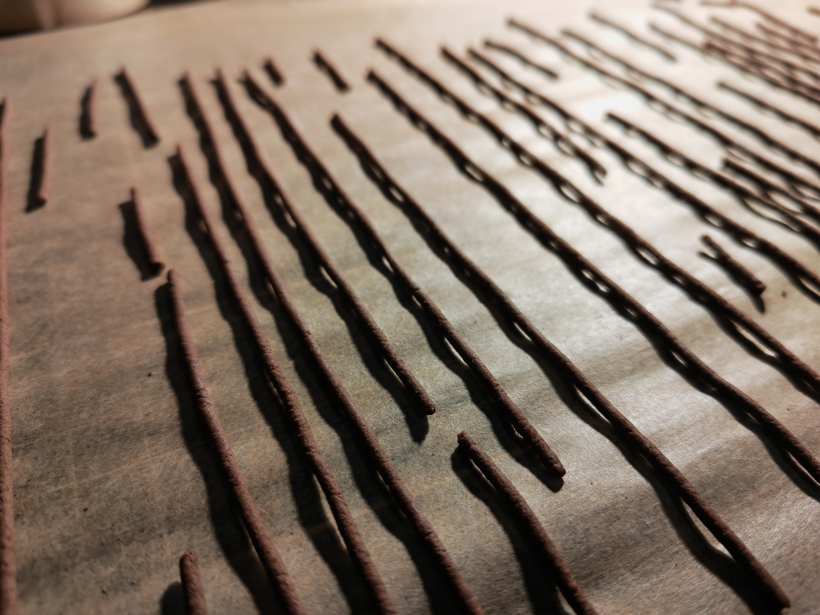
After studying the properties of ceramic fibres, I thought it would be possible to treat it in a similar way to wool felting..
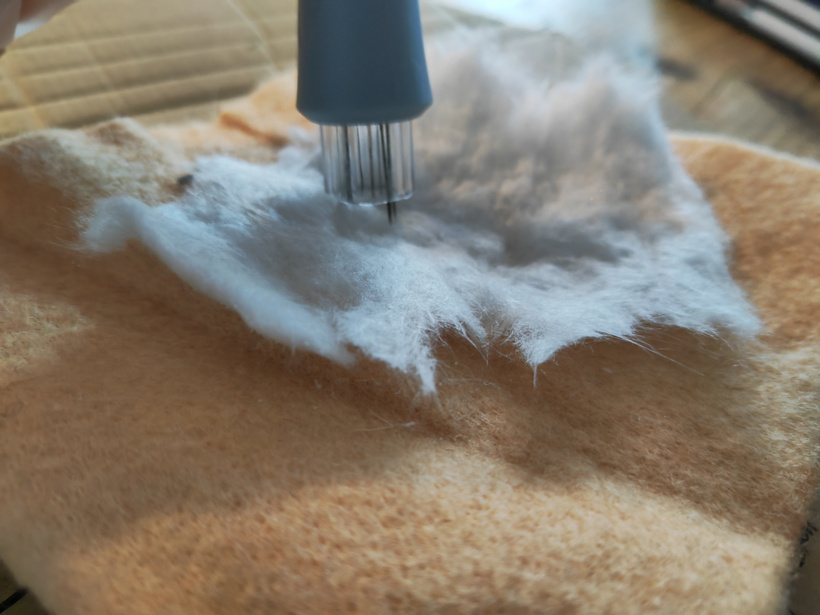
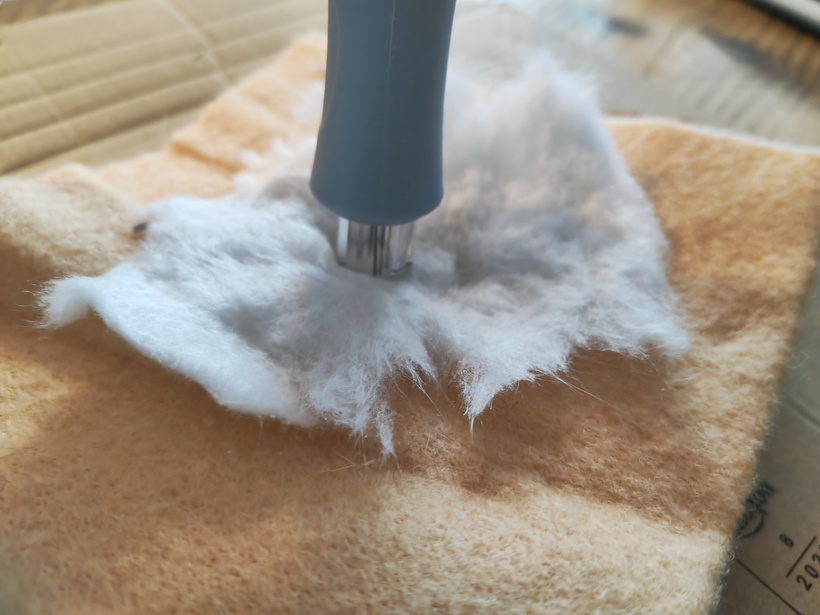
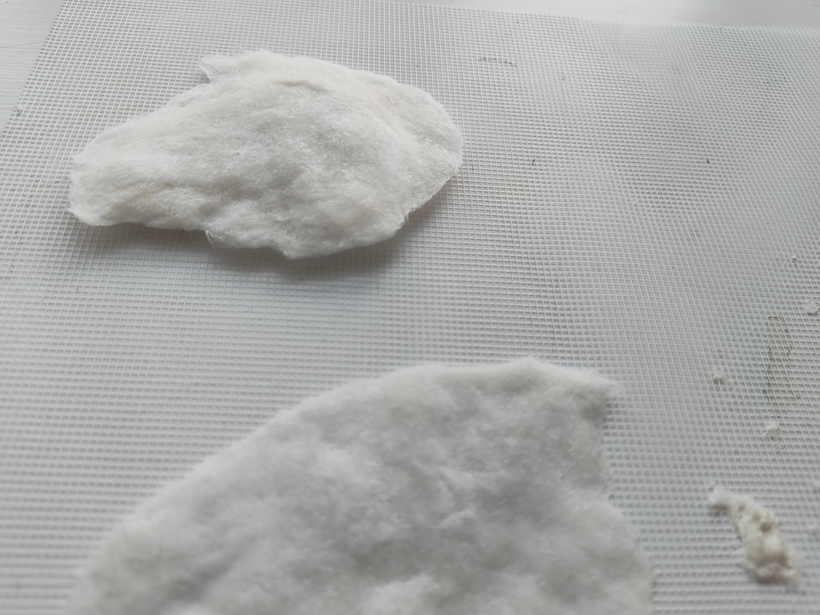
The treated ceramic fibres can be shaped, but they can hardly withstand the tensile forces and are not sufficient to support subsequent processing.
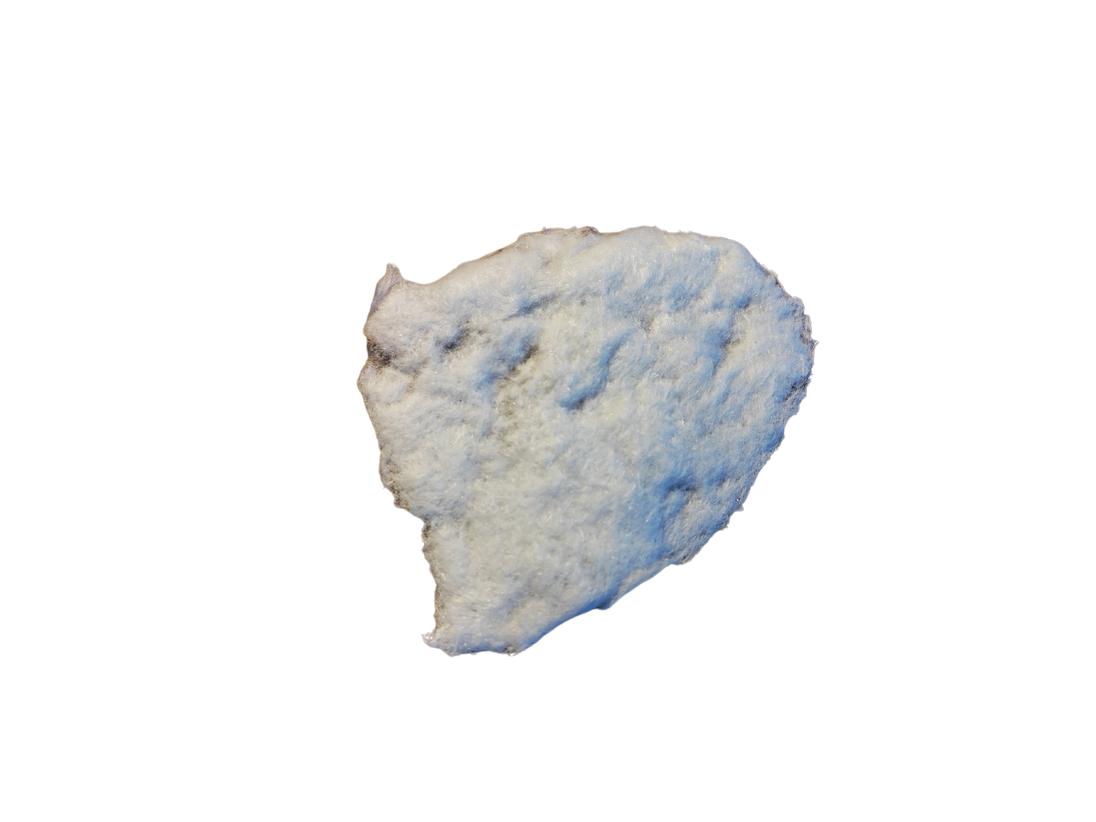


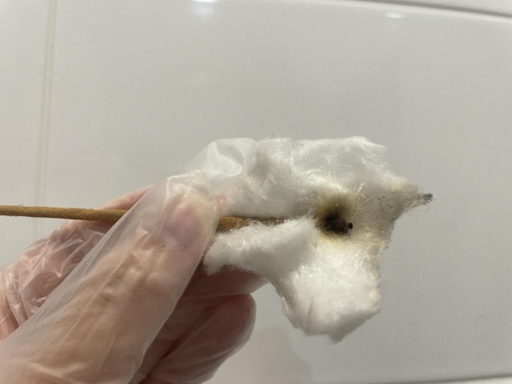
Can be cut by scissors, burns with marks but does not drop ashes
Ceramic fibre experiment (2)
002
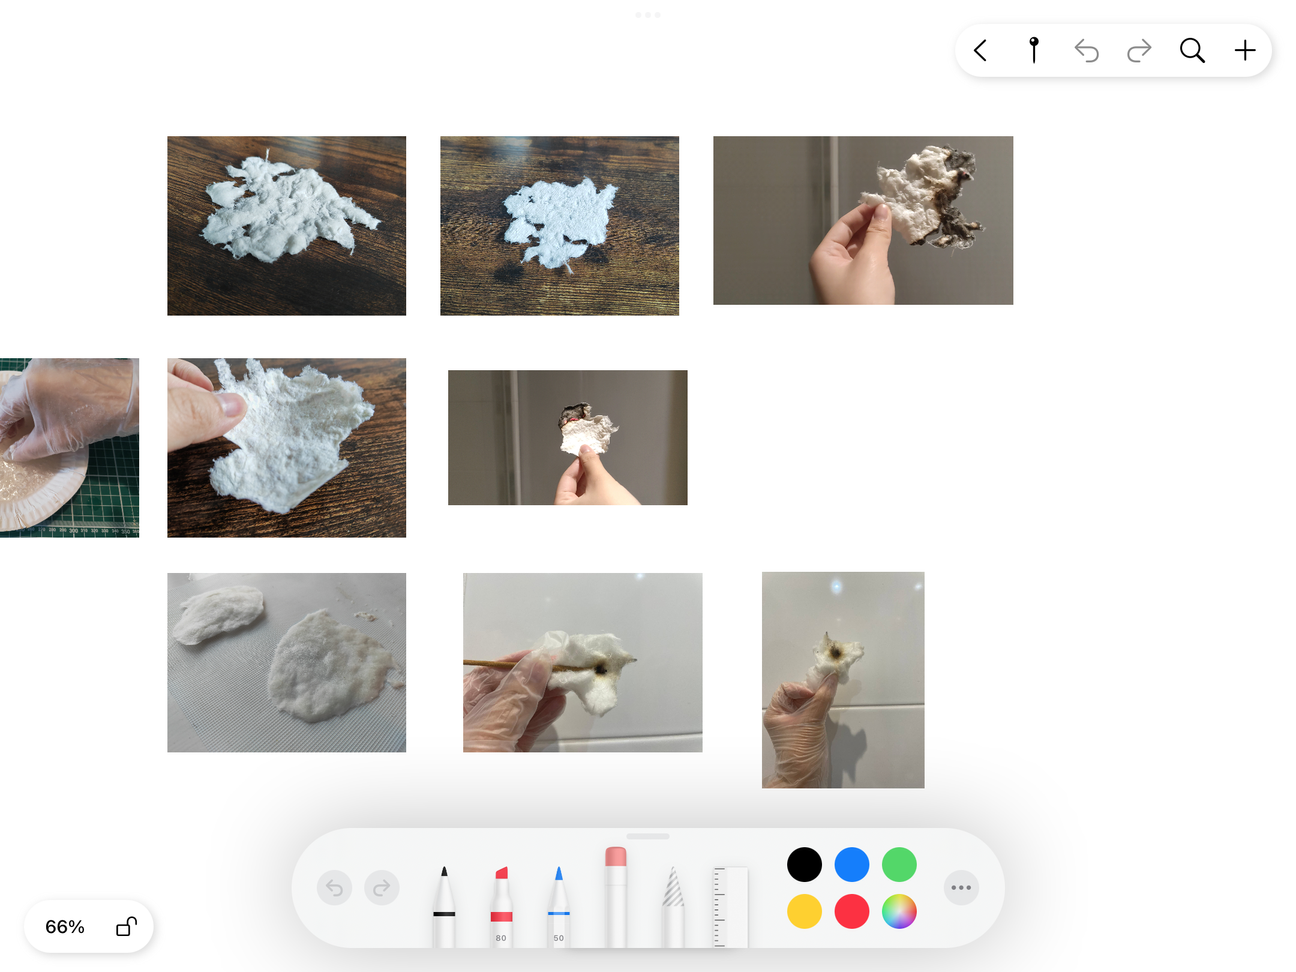
As the ceramic fibres are too loose, I tried adding paper pulp to them by referring to the method of making handmade paper. Not only does it increase the toughness, but it also improves the feel and prevents the fragments in the ceramic fibres from hurting people
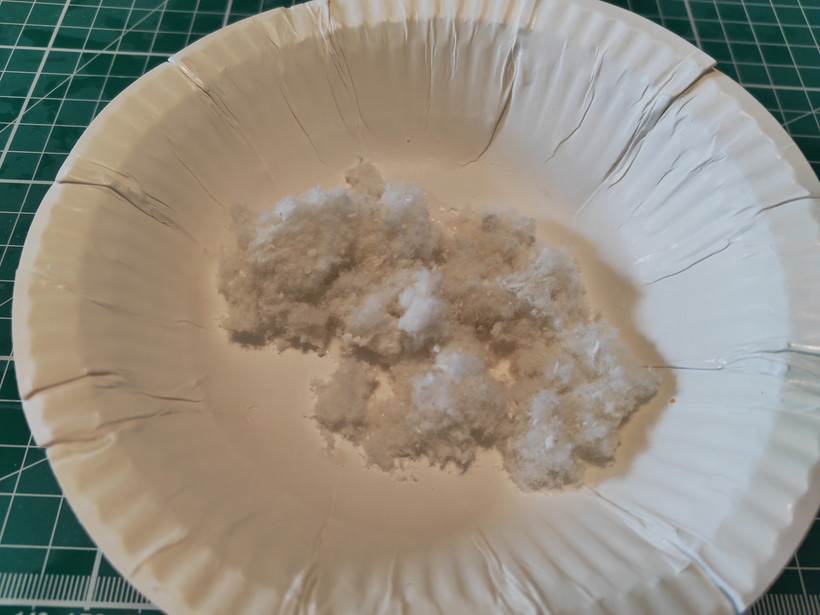
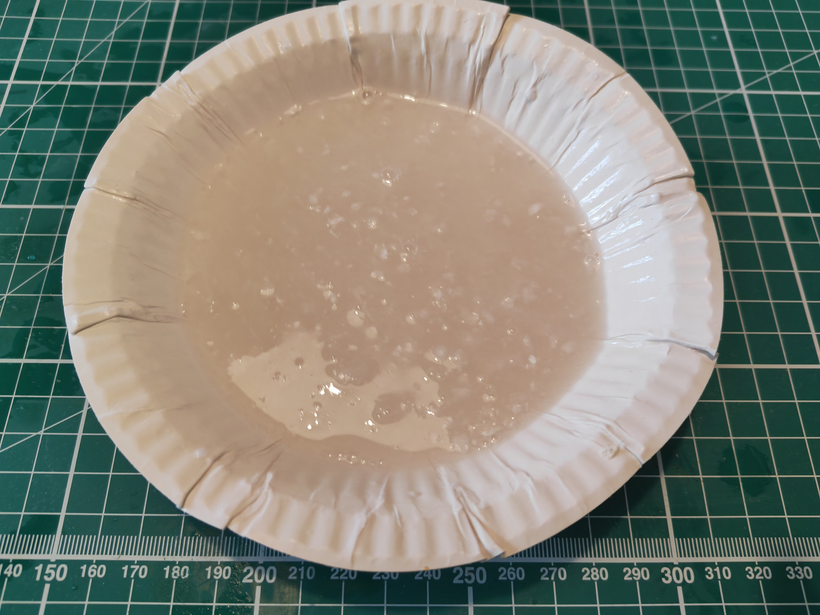
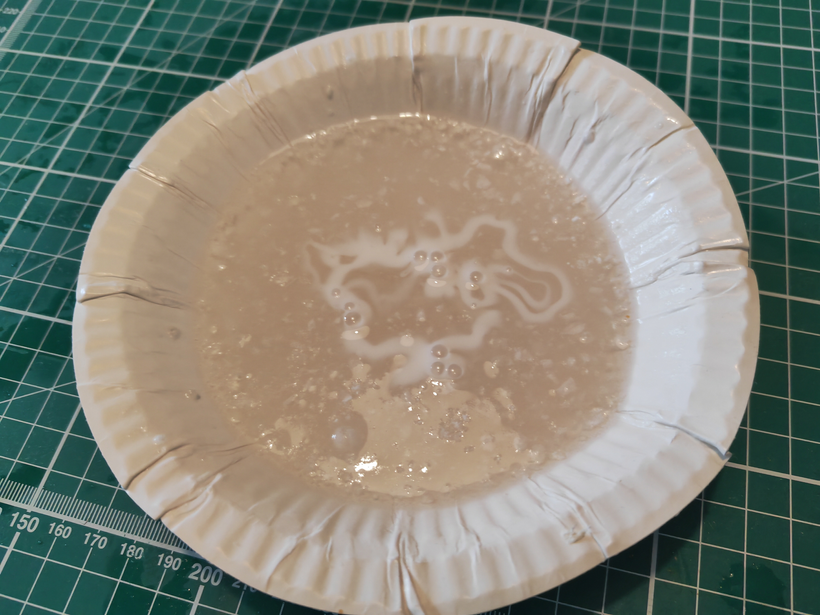
Add water, mix, add PVA glue, stir again
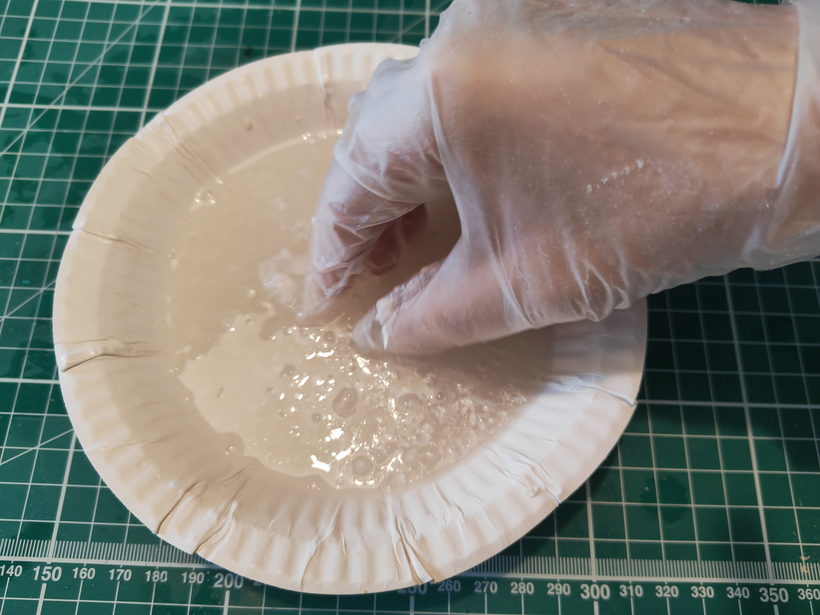
The first time I tried it, I found that it was difficult to mix the ceramic fibres and the pulp by hand. So I tried to use the grinder to mix them back together and make them even finer.
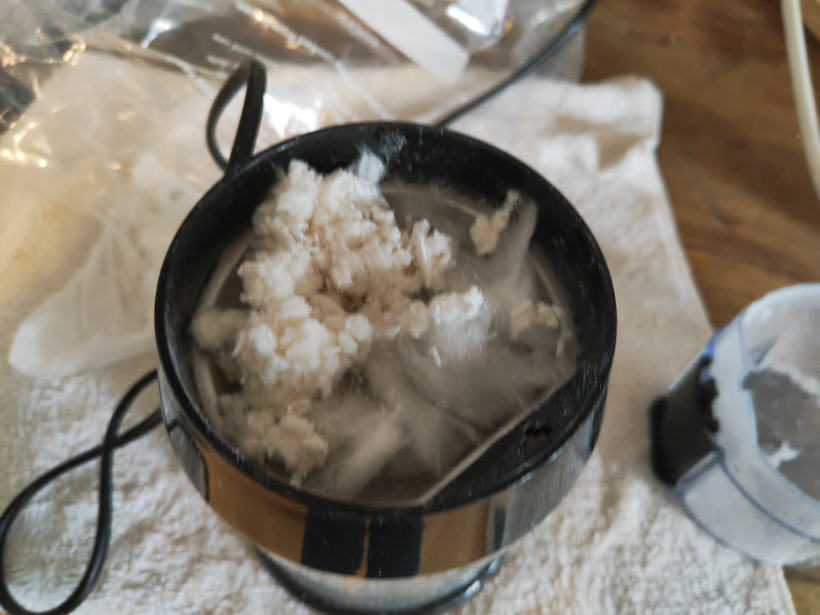
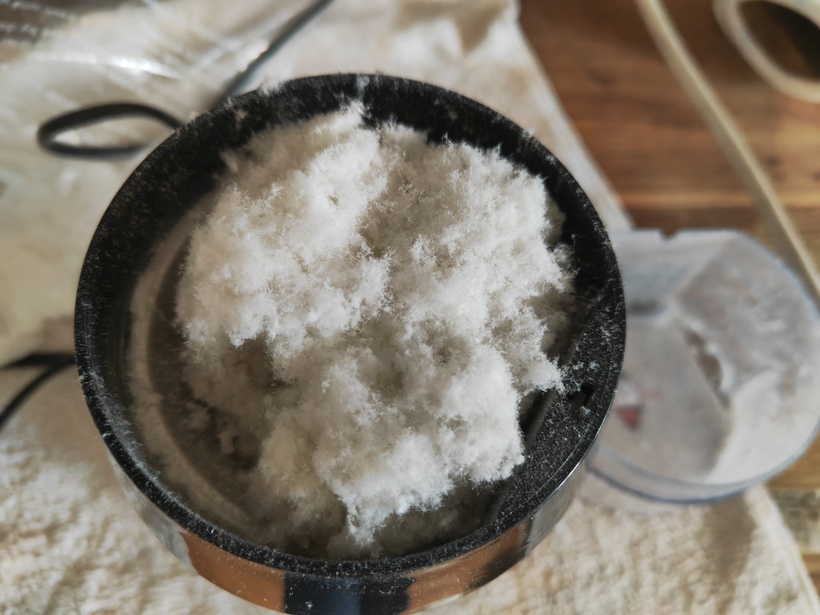
Mixing of ceramic fibres and paper pulu Grinder to break up and mix well
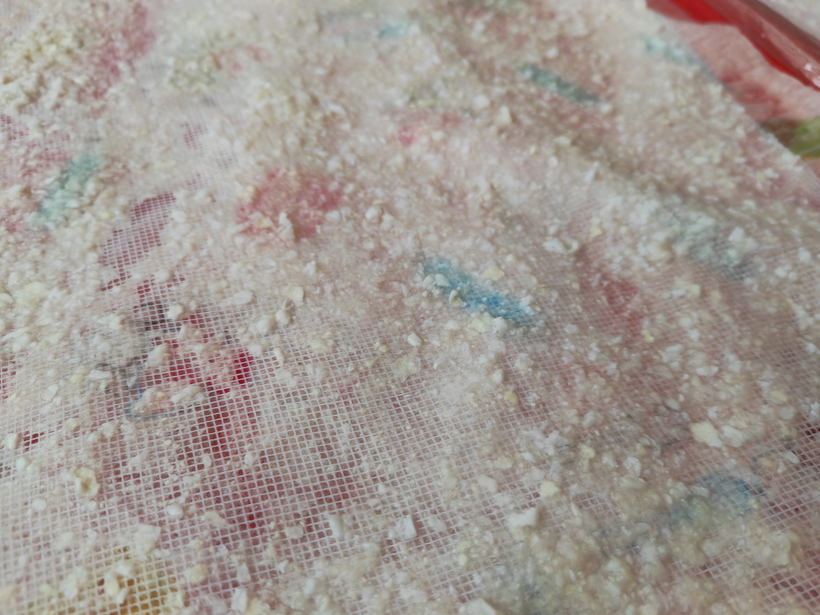
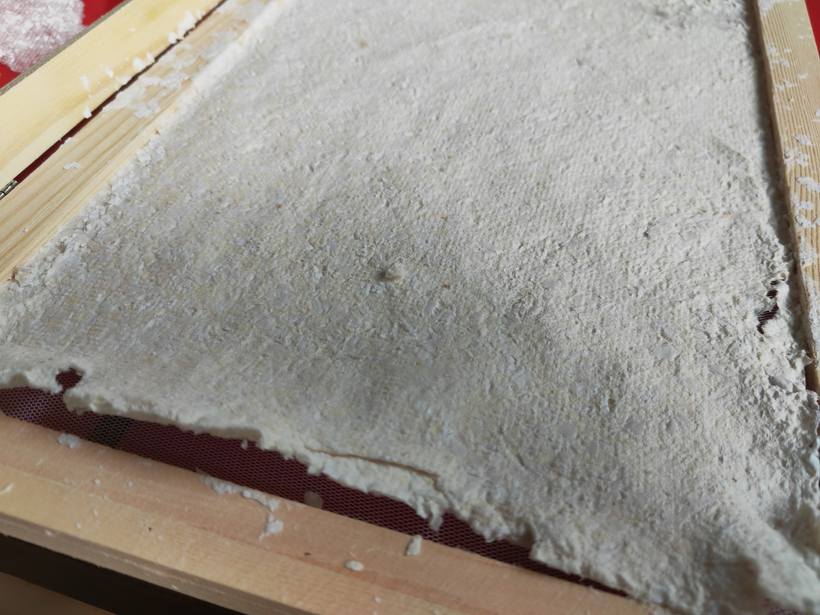
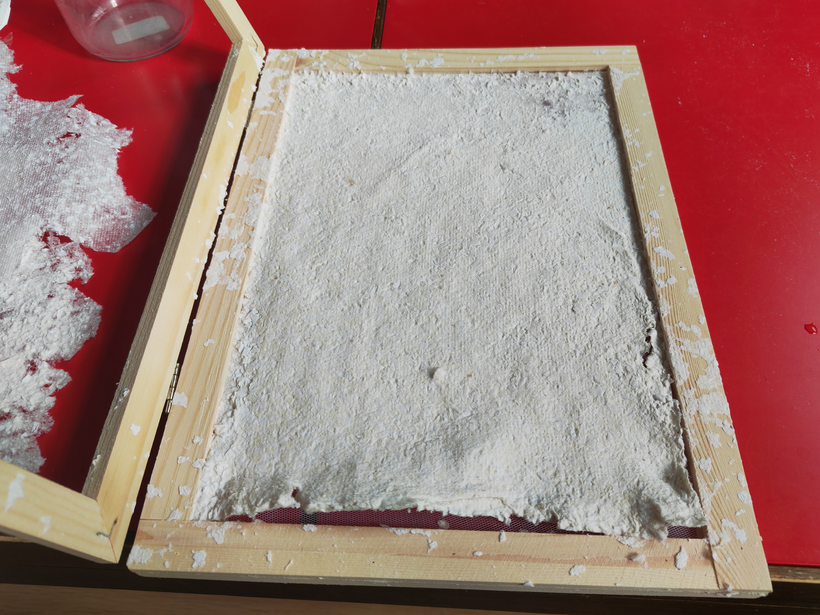
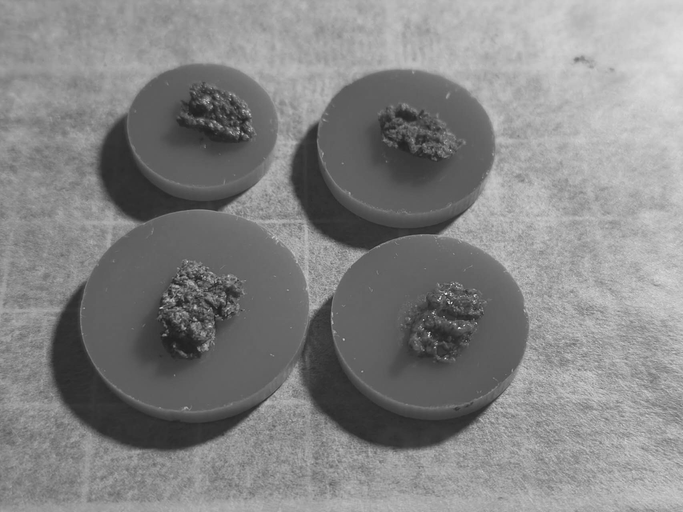
Pour into moulds, drain and air dry
Pulp: ceramic fibre = 1:2
Good toughness, no sticking, easily ignited, residue
Pulp: ceramic fibre = 1:1
Good toughness, a little tangled, not easily ignited, no residue
Pure ceramic fibre
Poor toughness, very sticky, does not ignite easily, no residue
After mixing various ratios, I found that a 2:1 ratio of ceramic fibre to paper pulp was more suitable for my needs. However, there are still some drawbacks such as the lack of toughness and the difficulty in controlling the thickness.
Ceramic fibre experiment (3)
003
As the last time I mixed my own ceramic fibres and pulp the results were not perfect, I chose to buy ceramic fibre paper for industrial production to test it after talking to professionals.
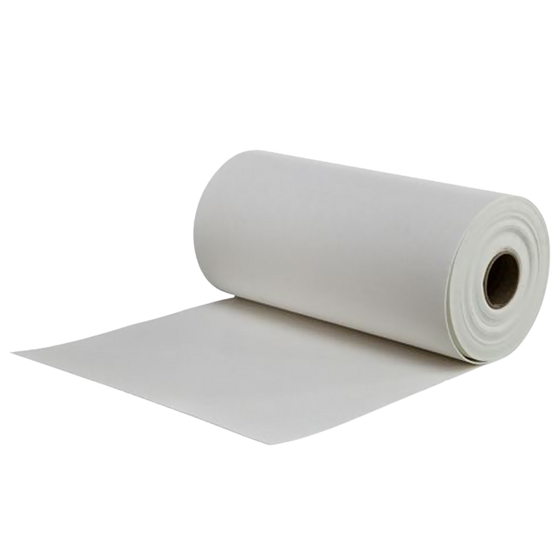
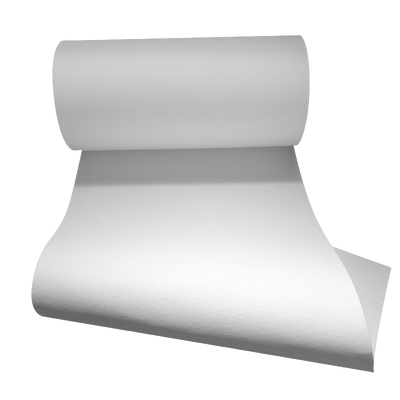
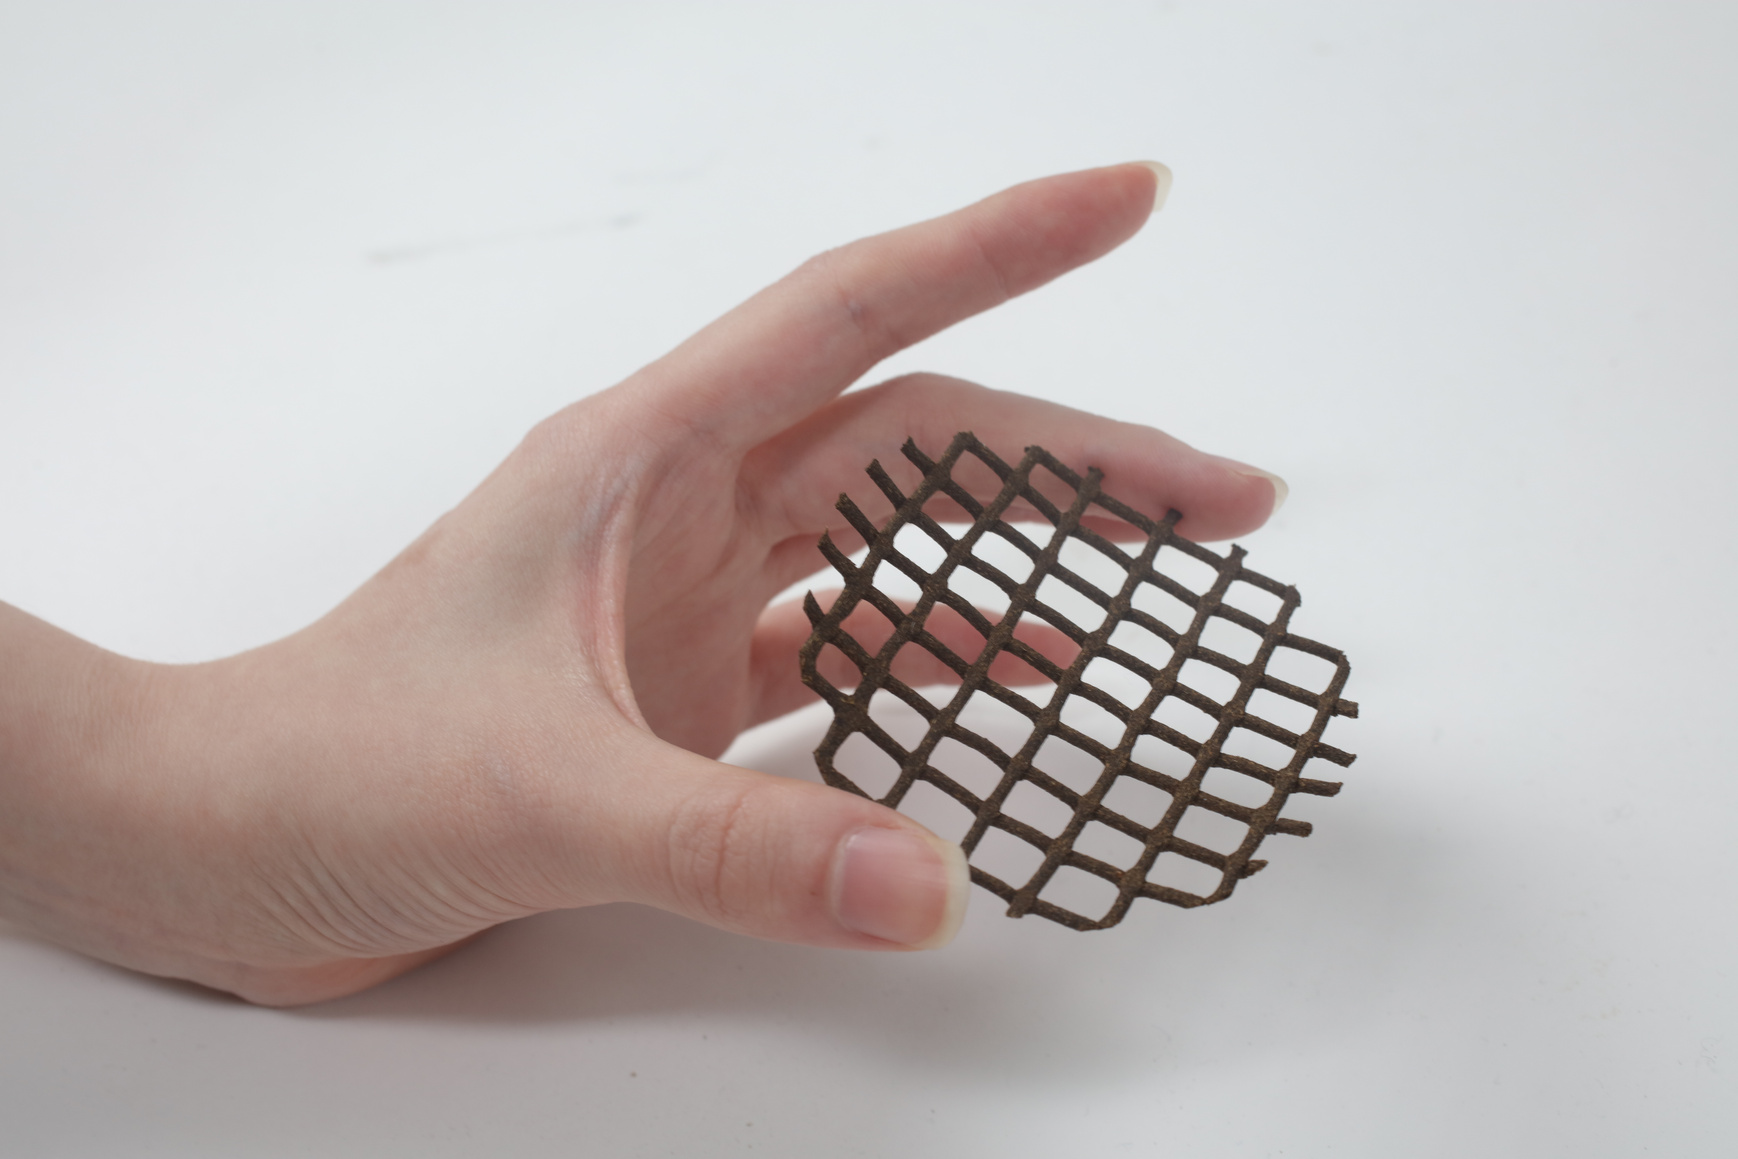
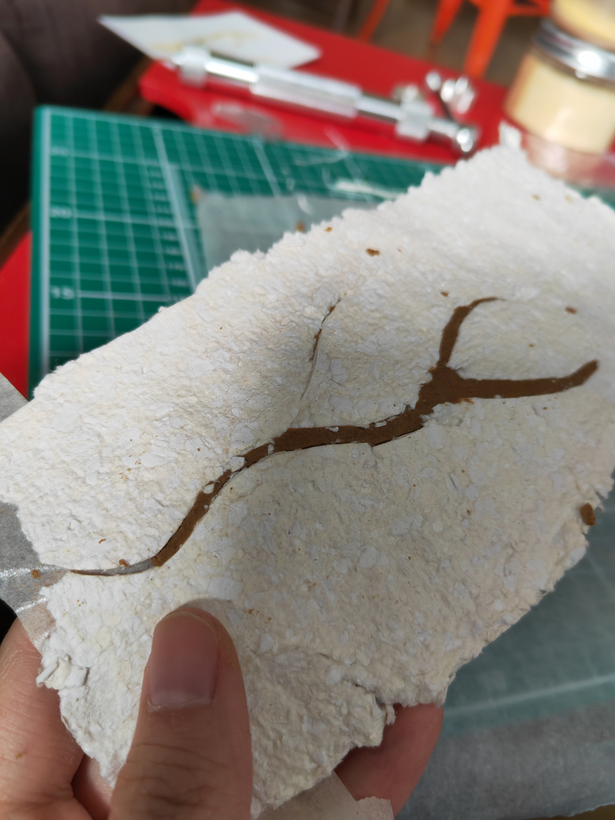
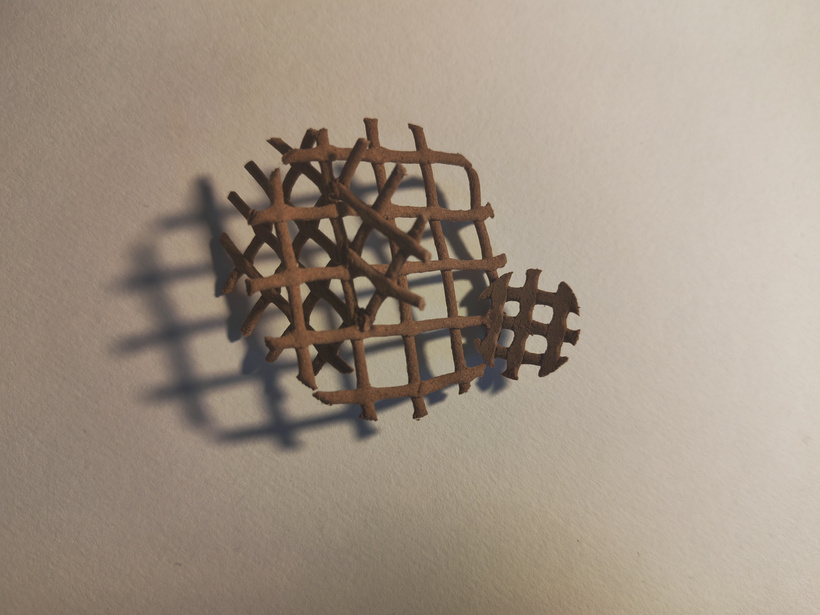
When I got the ceramic fibre paper, I found it to be thinner than I expected, but extremely tough, with an even texture and no tangles.
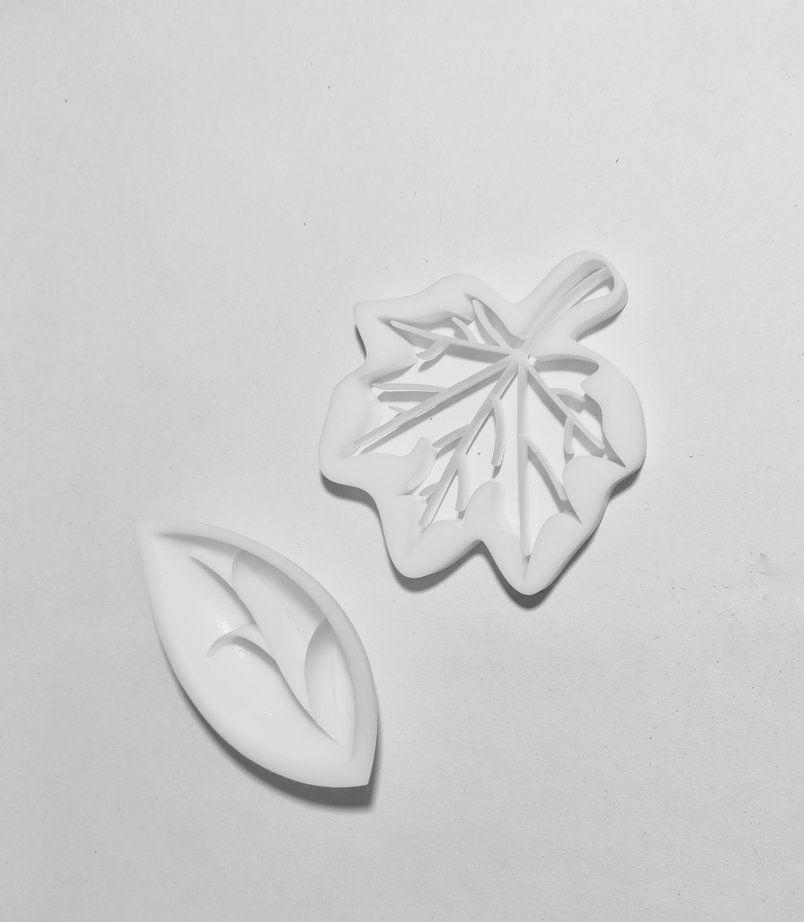
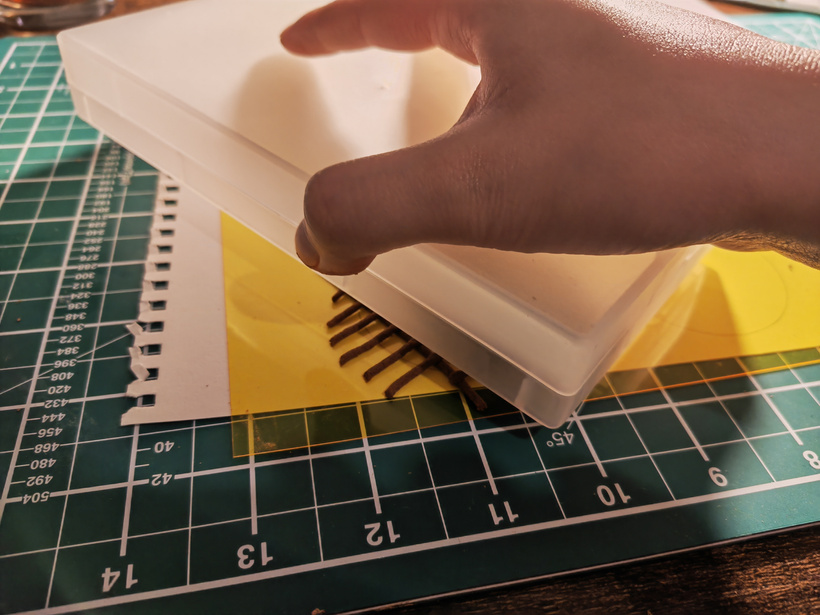
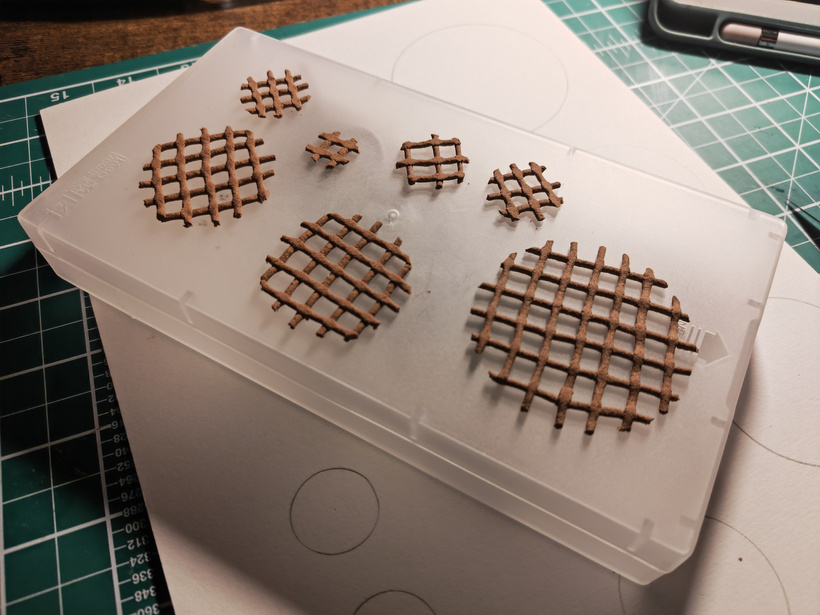
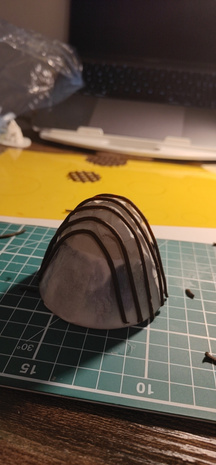
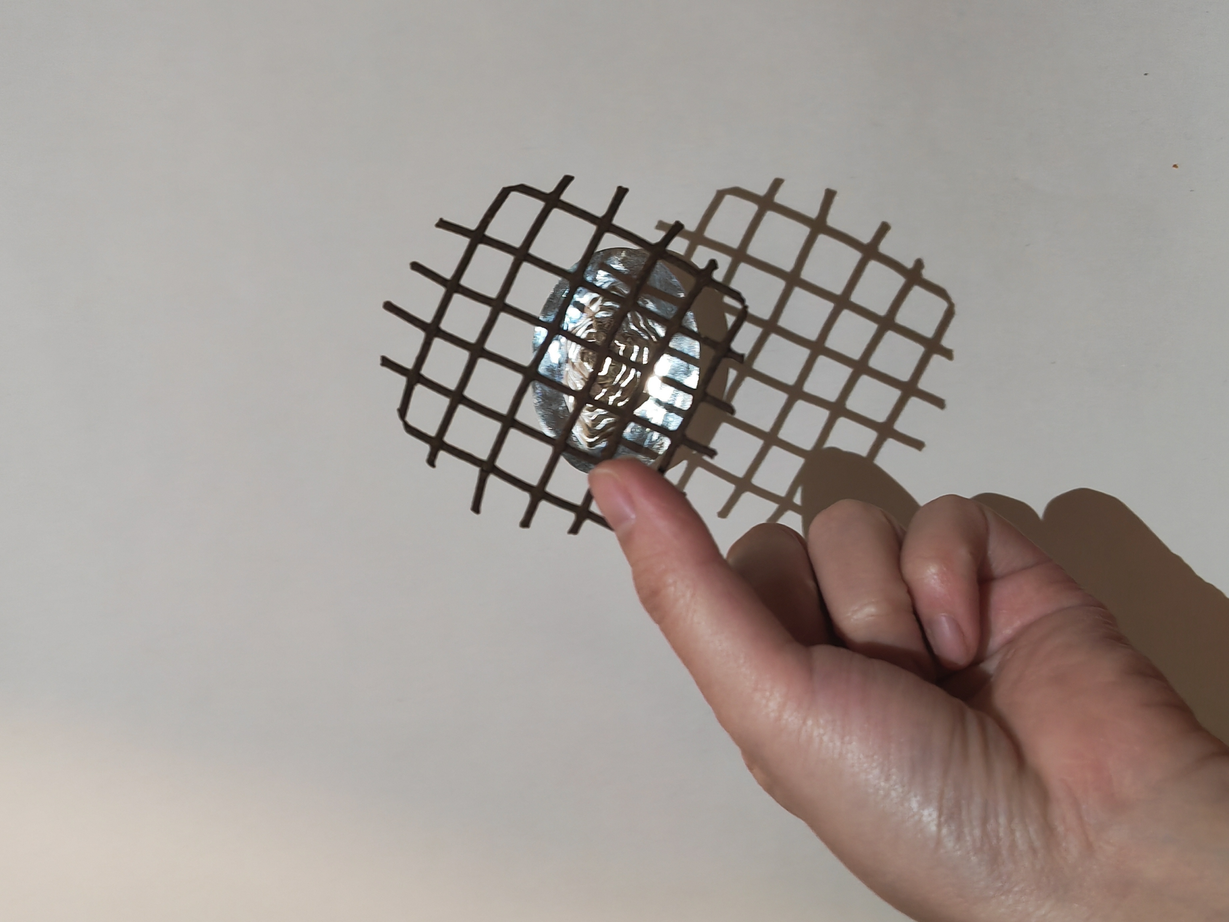
I wanted to keep the paper-like form of the paper and hollow out the surface to add incense.
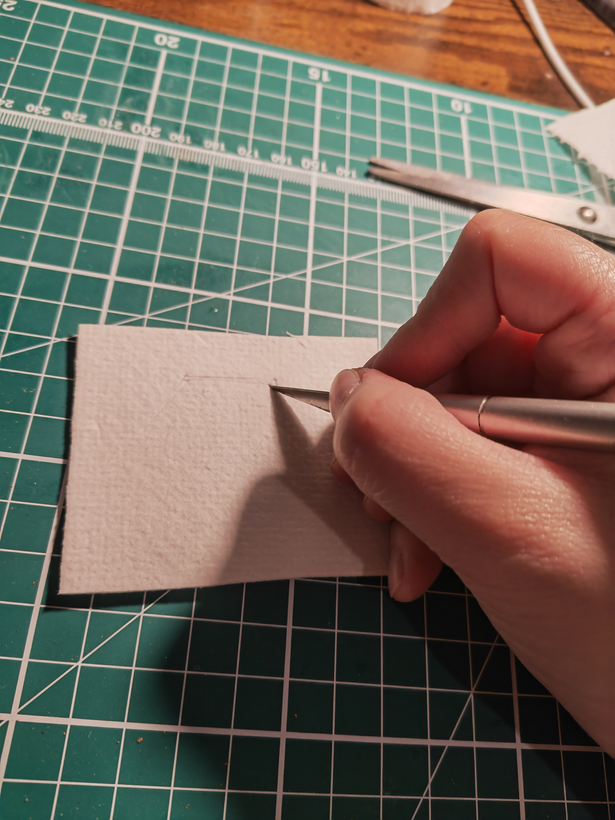
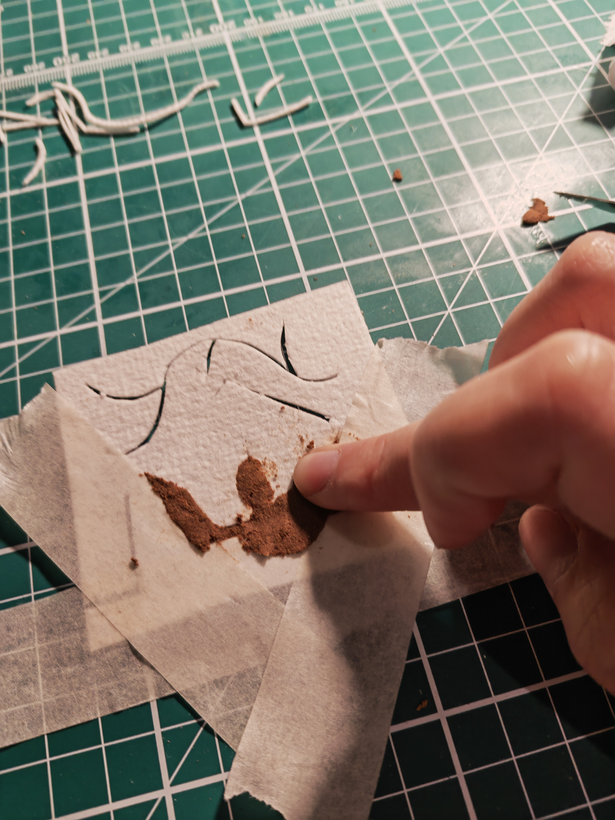
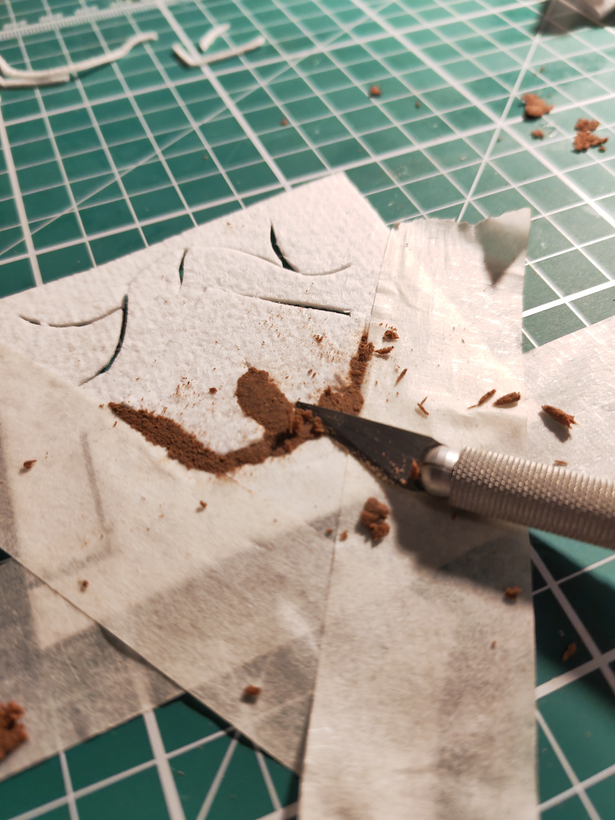

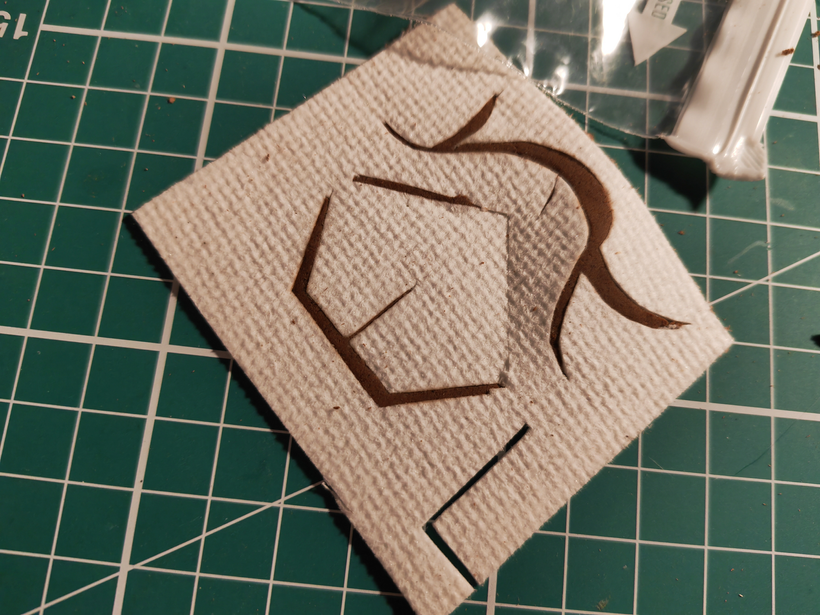


Hollow out the design with a carving knife and fill in the pattern with the wet clay using your fingers. When it has dried a little, take a spatula and repair the flat back and wait for it to dry completely.
Ceramic fibre experiment (4)
004
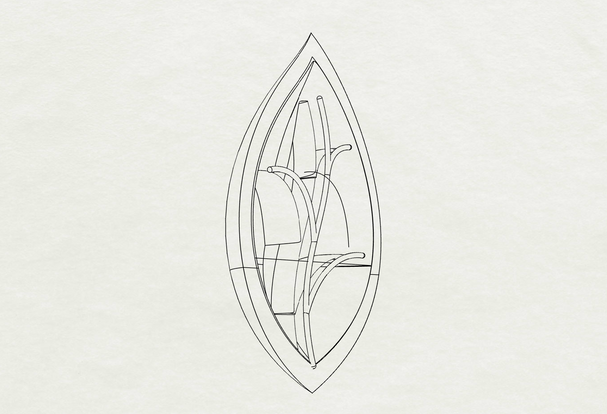
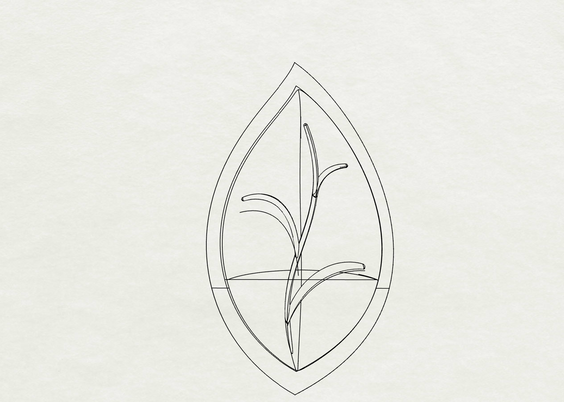
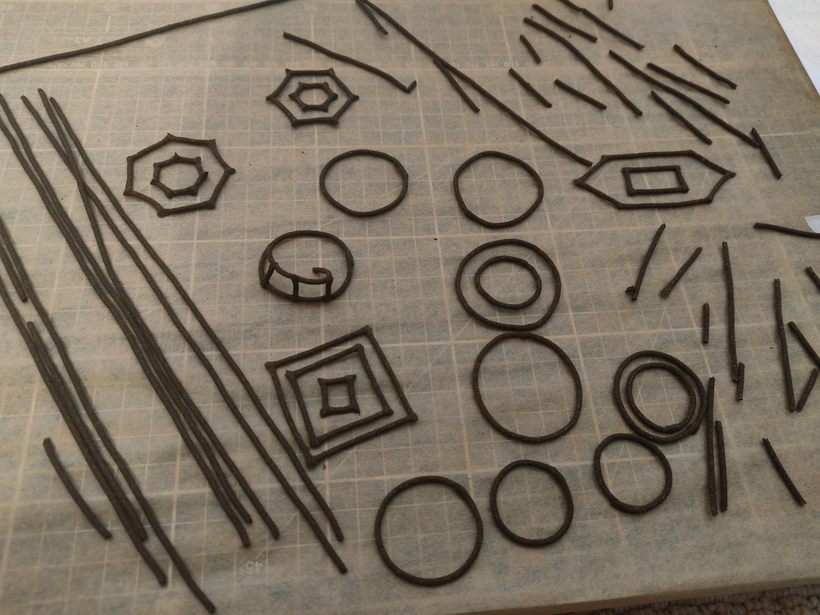
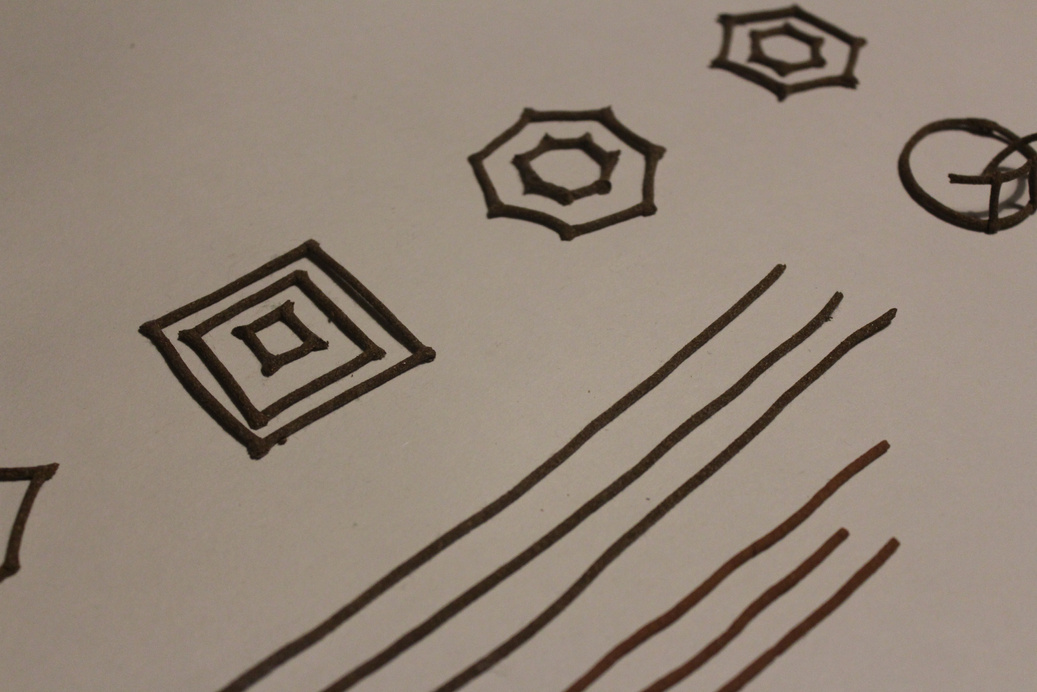
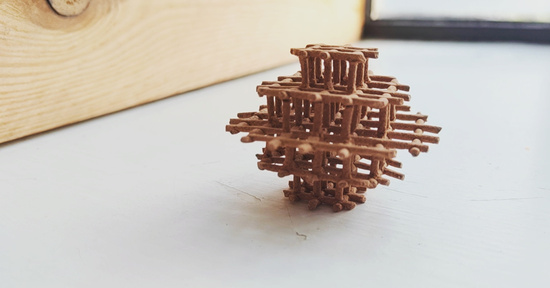
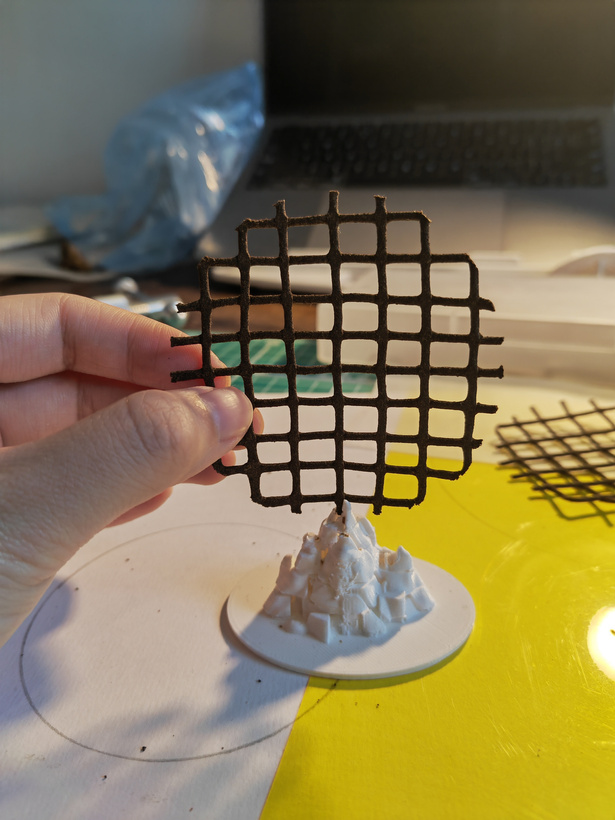
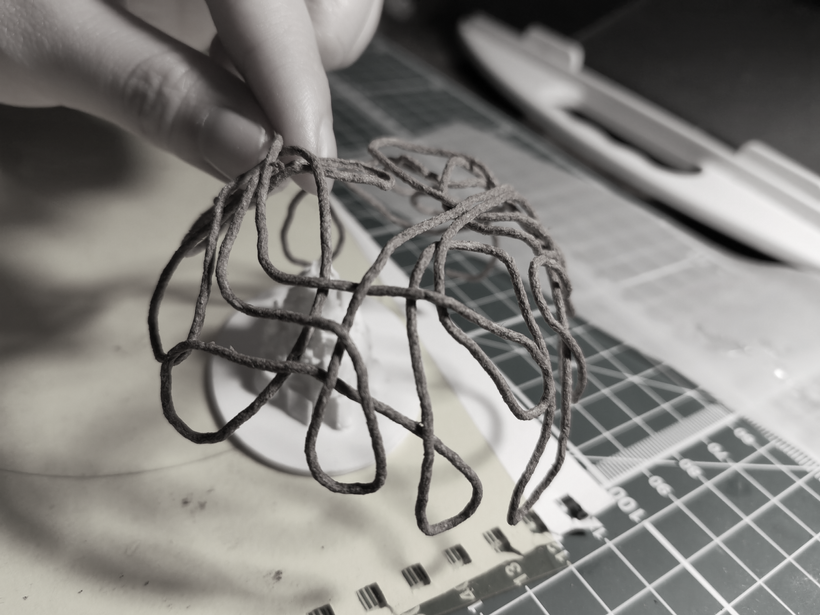
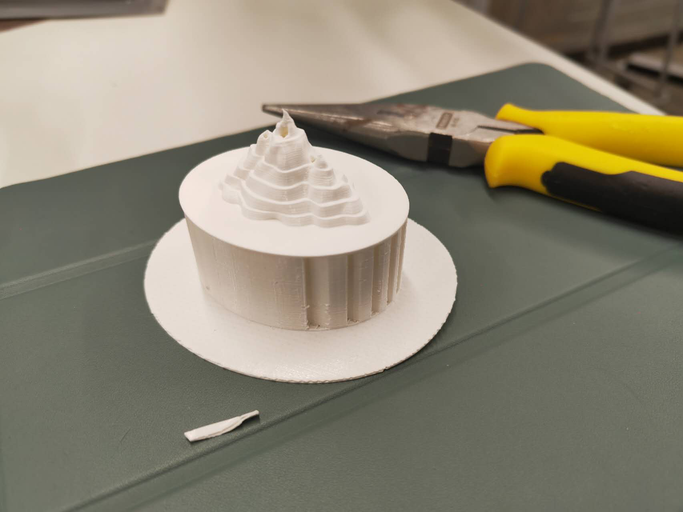
After experimenting with paper pulp mixed with ceramic fibres, I made a model using Rhinoceros in order to experiment with its stylistic possibilities.
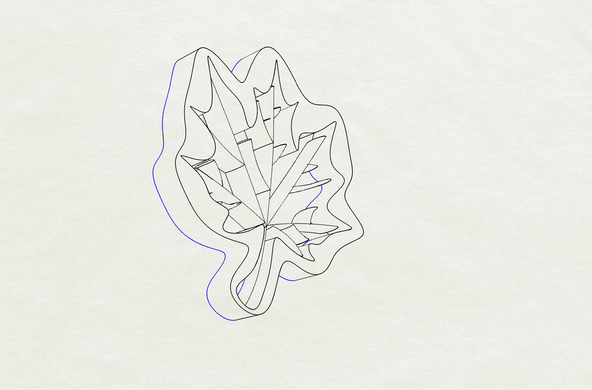
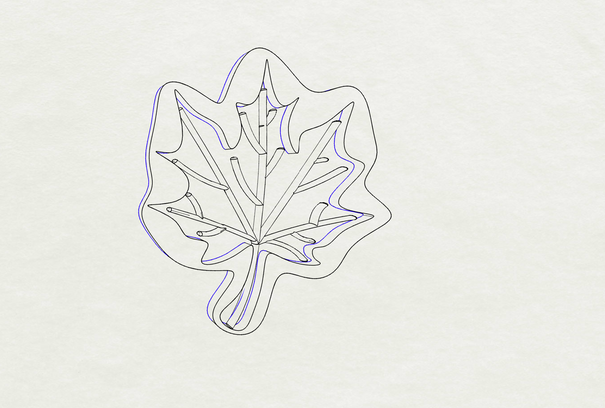
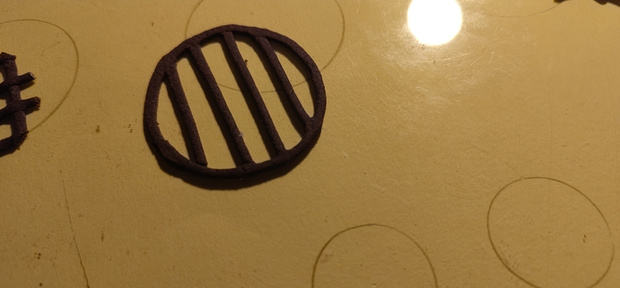
Flat shapes, testing the thickness and sparseness of the hollowing
Curved shapes to test whether the pulp can be shaped in a three-dimensional mould
Due to changes in material requirements during the design process, I stopped working with ceramic fibre and opted for metal.
If there is a need to continue with this material, I think that a mixture of ceramic fibre and paper pulp laid on a model and air dried is the most promising direction.
Ceramic fibre experiment (5)
005
Video —burning test of ceramic fibre and pulp
glue experiment (1)
006
Video on burning test of ceramic fibre and pulp blends
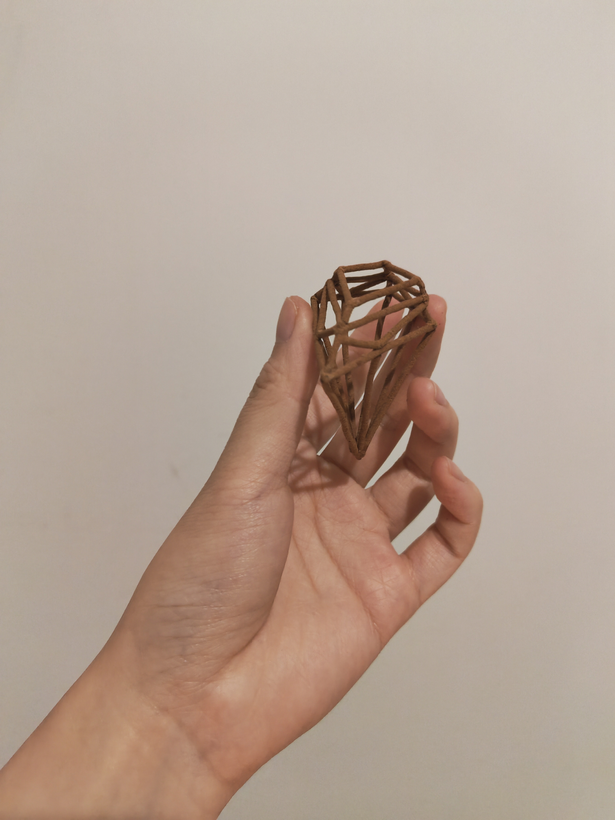
In order to be able to create a diamond shape with incense, it is necessary to use a binder. I started experimenting with various binders to ensure that the incense interface would also burn successfully while being environmentally efficient.
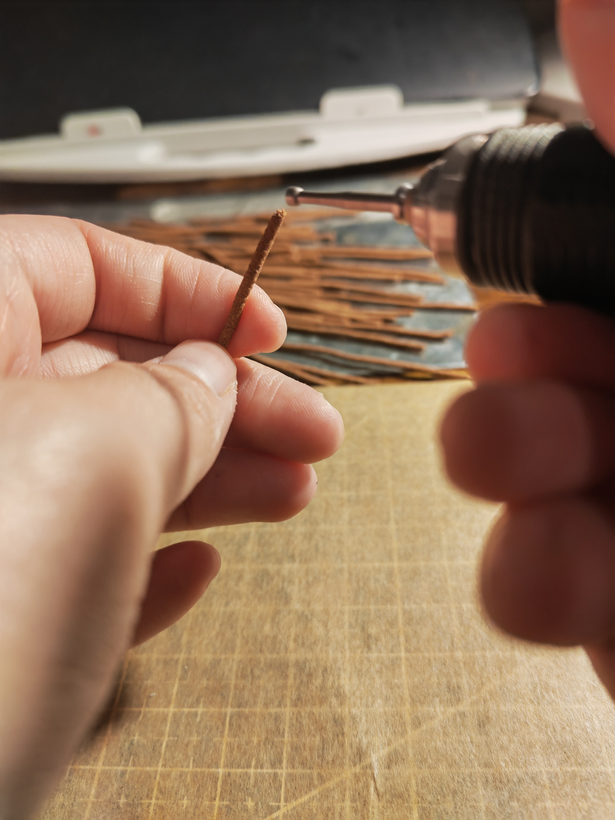
Process
Grinding of joints Design of shapes Bonding of joints
1. elm bark powder, water, PVA glue
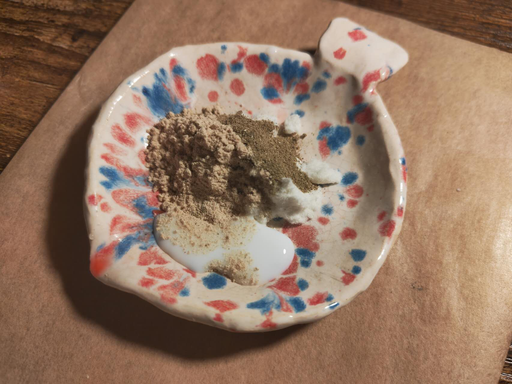
Pva glue makes for a short bonding time, but tends to warp when waiting for drying time. Nodes burn smoothly, less odour when burning
2.elm bark powder, water, honey
The bonding is quicker. However, honey is difficult to dry and the joint does not burn easily even after baking and drying.
glue experiment (2)
007
Video on burning test of ceramic fibre and pulp blends
In order to be able to create a diamond shape with incense, it is necessary to use a binder. I started experimenting with various binders to ensure that the incense interface would also burn successfully while being environmentally efficient.
Process
Grinding of joints Design of shapes Bonding of joints
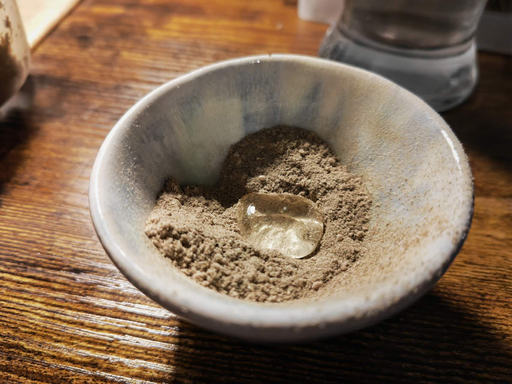
1. water, PVA glue
The pva glue helps to bond quickly, but it burns with an odour and affects the combustion at the interface
2.elm bark powder, water
1. water, PVA glue
Slow to bond, large joints but burns smoothly, no odour
Conclusion
1. elm bark powder, water, PVA glue :Pva glue makes for a short bonding time, but tends to warp when waiting for drying time. Nodes burn smoothly, less odour when burning
4. elm bark powder, water:slow to bond, large joints but burns smoothly, no odour
2.elm bark powder, water, honey :The bonding is quicker. However, honey is difficult to dry and the joint does not burn easily even after baking and drying.
3. water, PVA glue :The pva glue helps to bond quickly, but it burns with an odour and affects the combustion at the interface
glue experiment (3)
008
Video on burning test of ceramic fibre and pulp blends
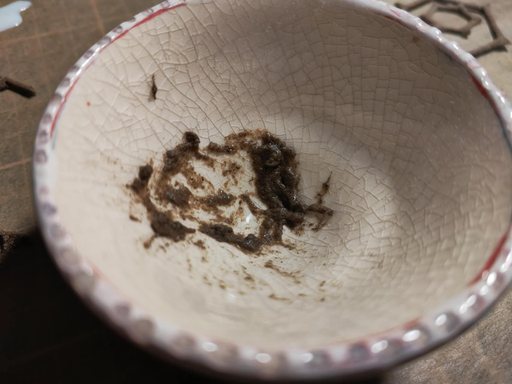
When conducting the experiment, I made some impromptu changes and added a little shredded paper pulp to the honey. The aim was to speed up the drying of the honey and help it to burn.

The addition of pulp results in smoother burning and improved bonding efficiency
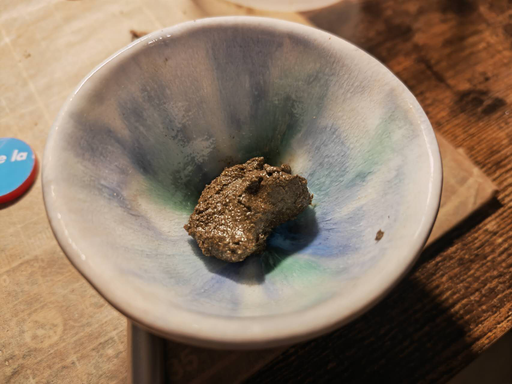
I think that combination 4 and combination 5 work better. I compared the success of these two natural binders in burning and decided to use combination 4 as a bonding formula.
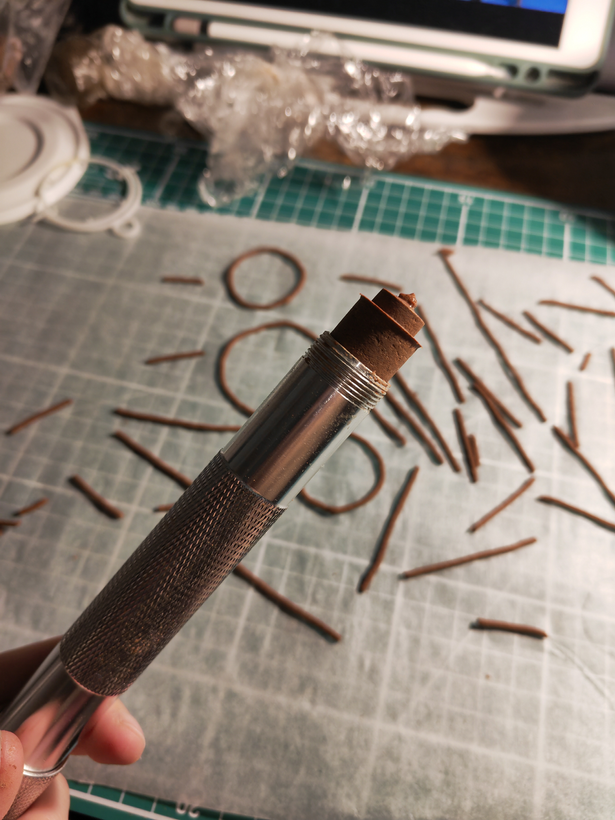
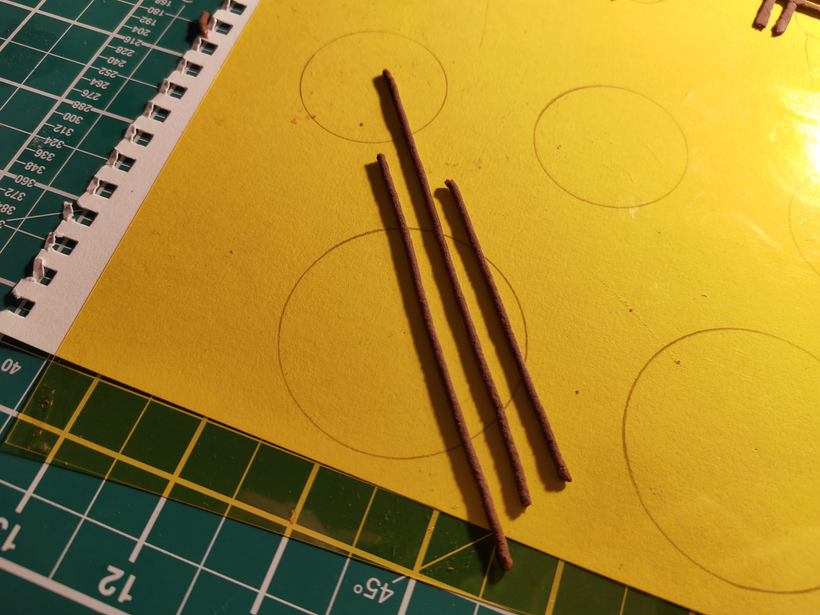
009
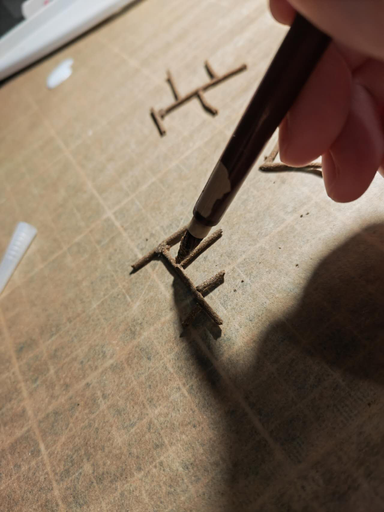
1. Draw a good drawing
2. Cut the incense prepared in advance according to the drawing
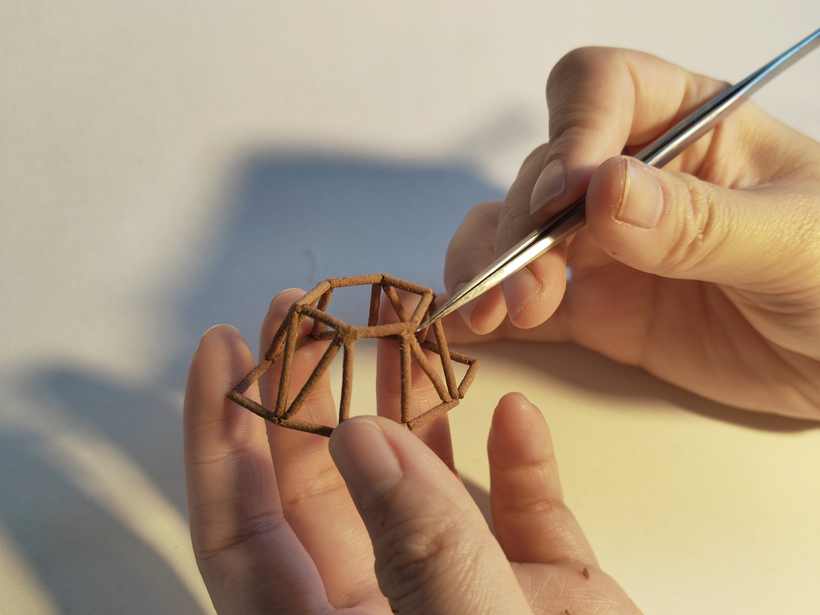
3. Use the glue made from elm bark powder to start piecing from it
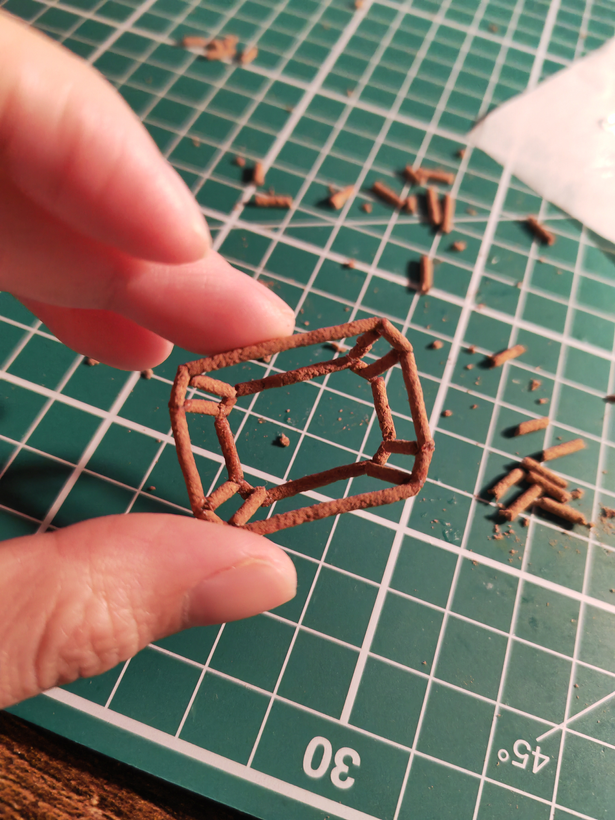
Problems:
1. Fragile interface
2.Rougher connection points
3.Substandard shape, easily deformed
Solution:
1. Use a brush with glue to make the bonding area more precise
2. Once the whole piece is built and dry, fill the bonded area with moist incense clay
3. Make a mould to give the incense a more standard shape
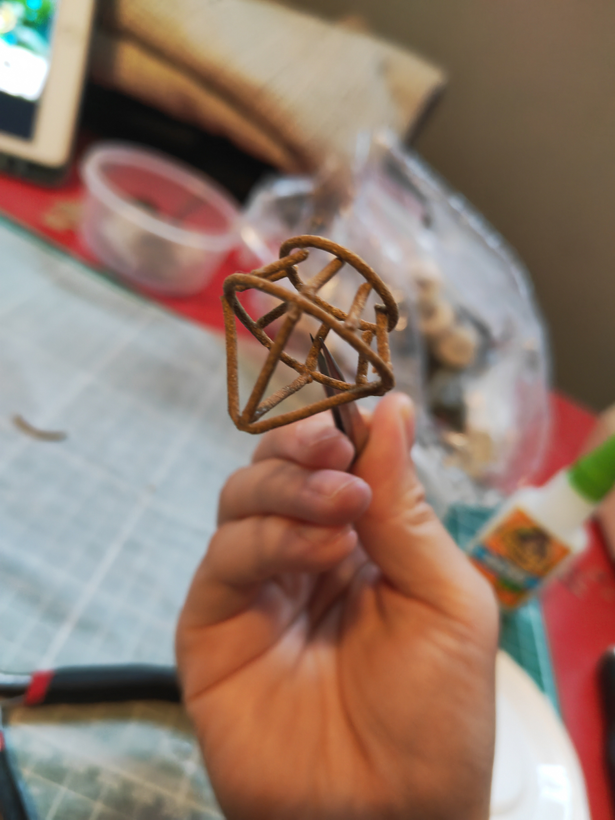
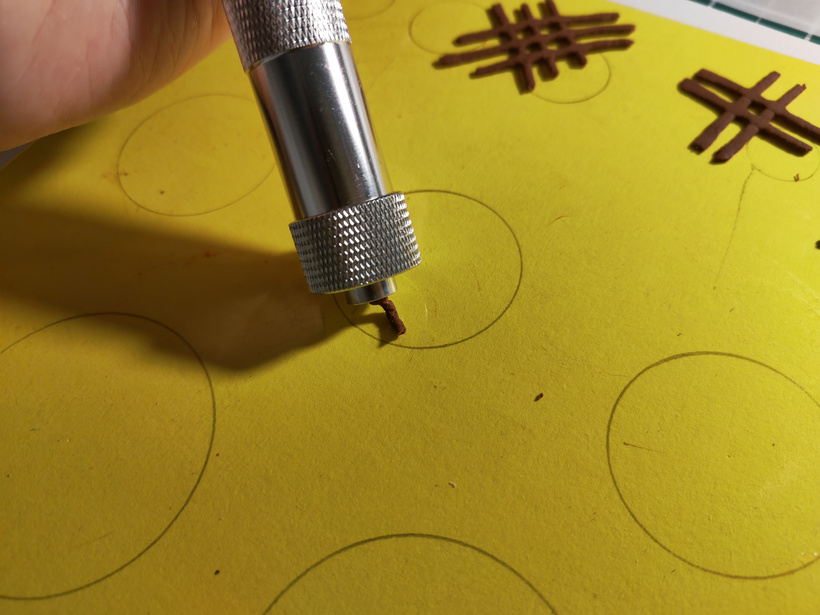
incense gem experiment (2)
010
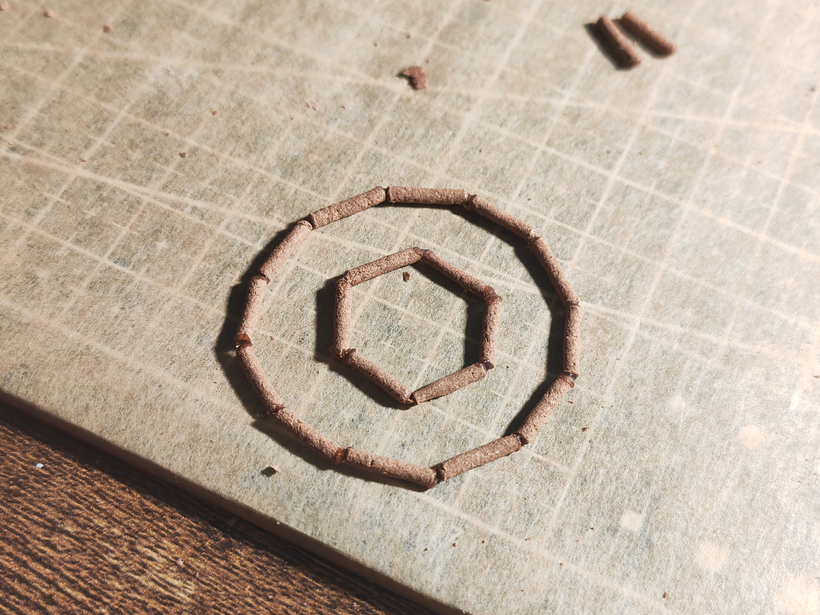
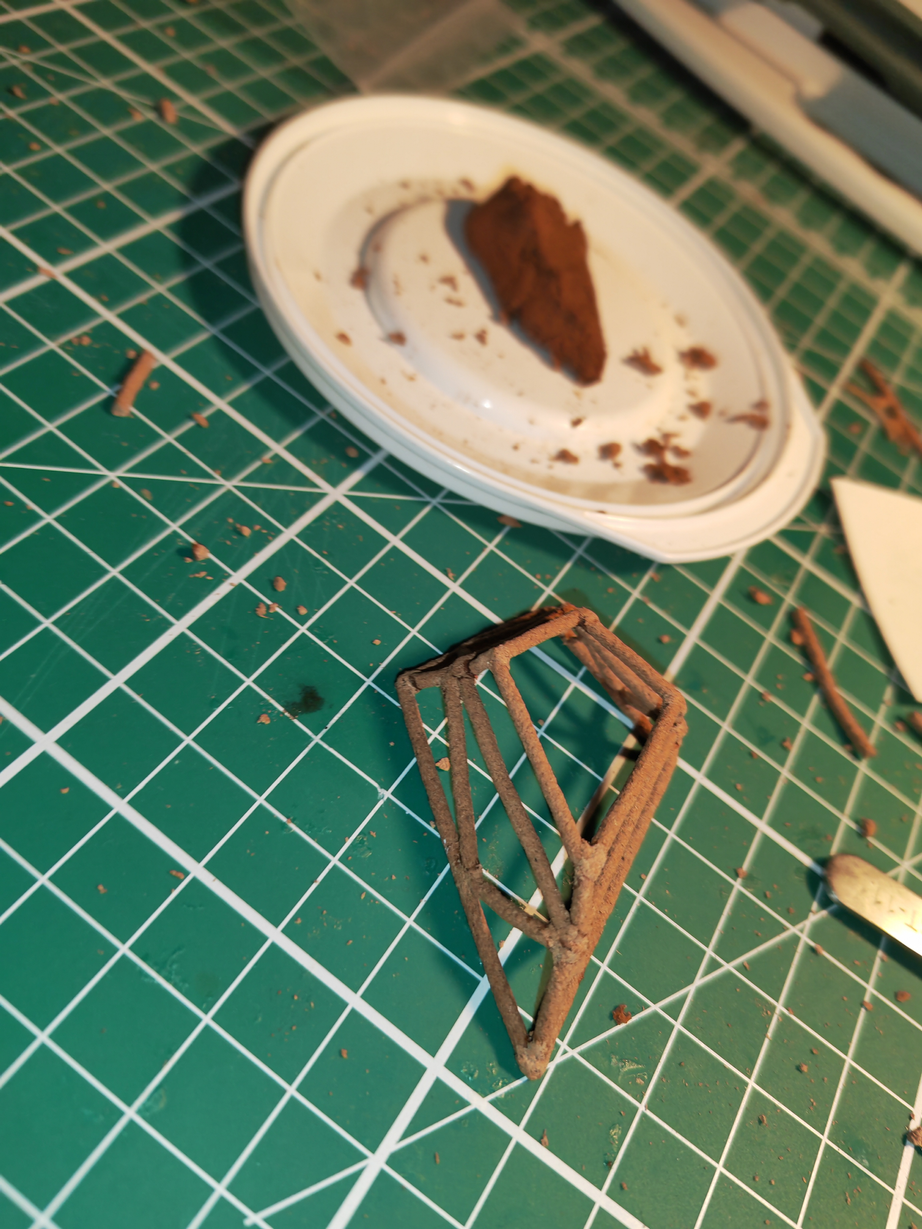
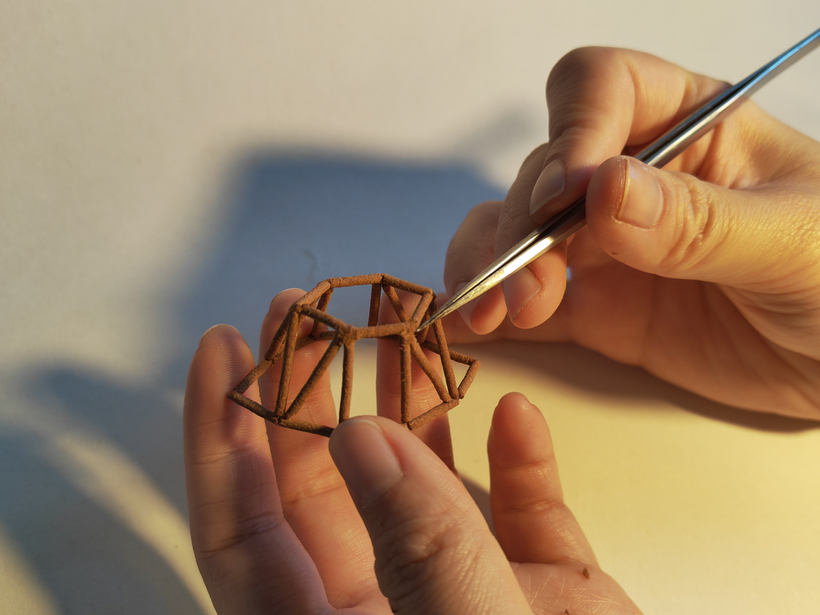
To reduce the use of glue and to allow for a smoother burn, I try to squeeze the incense on the same flat surface while it is still wet as much as possible
With this improvement, only twelve bonding points are now needed for the same figure where thirty were needed.This has greatly improved efficiency and quality
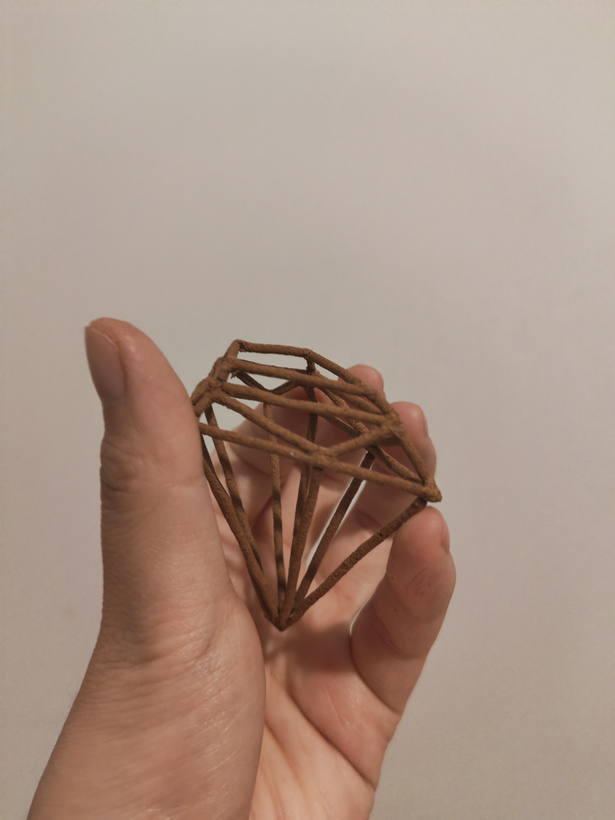
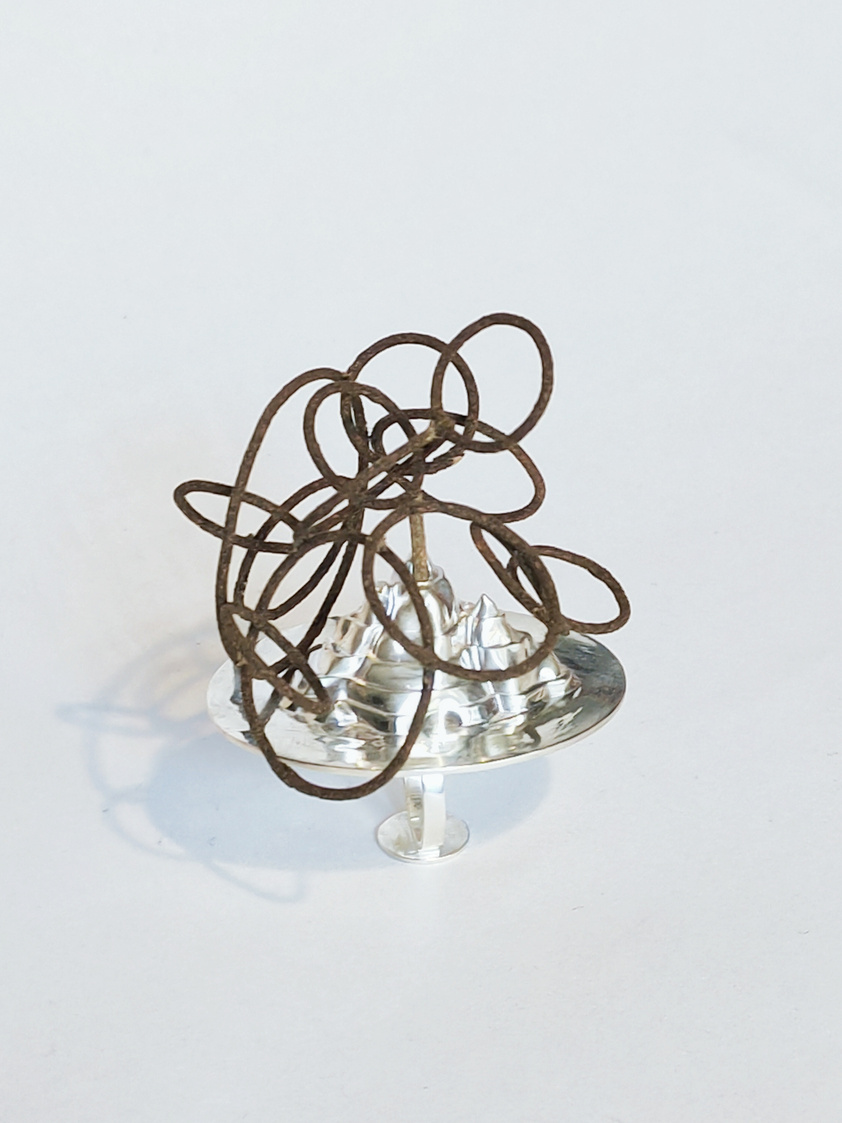
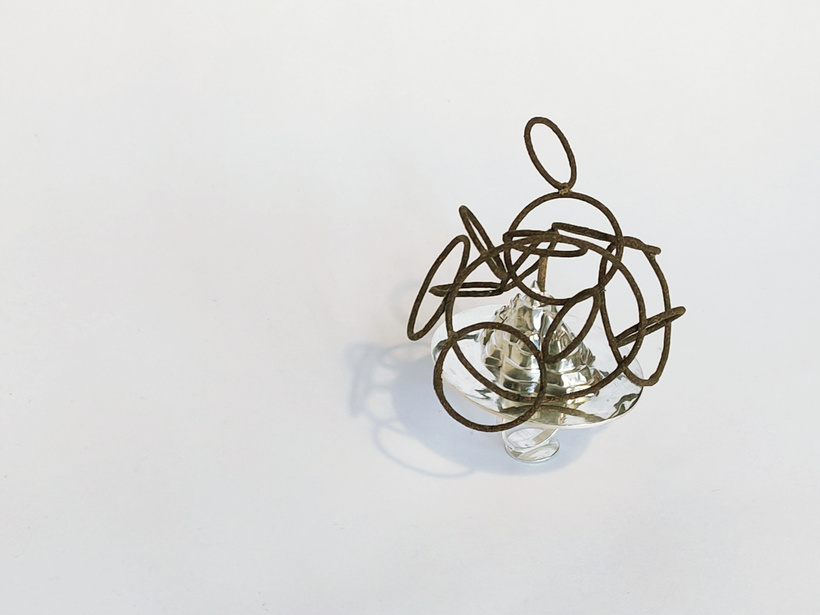
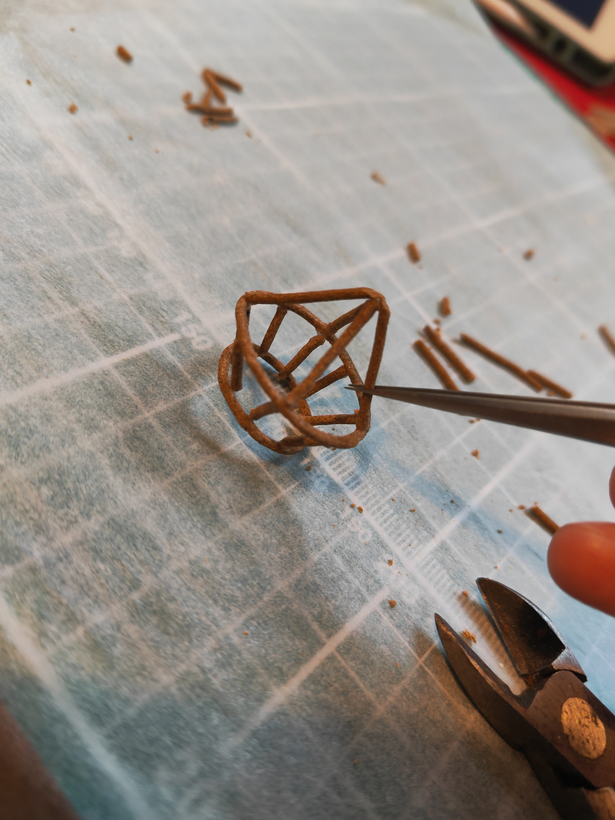
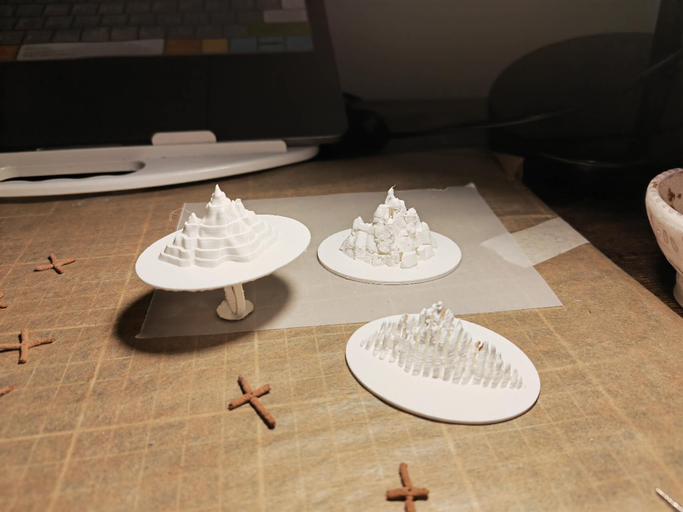
Shape experiment (1)
011
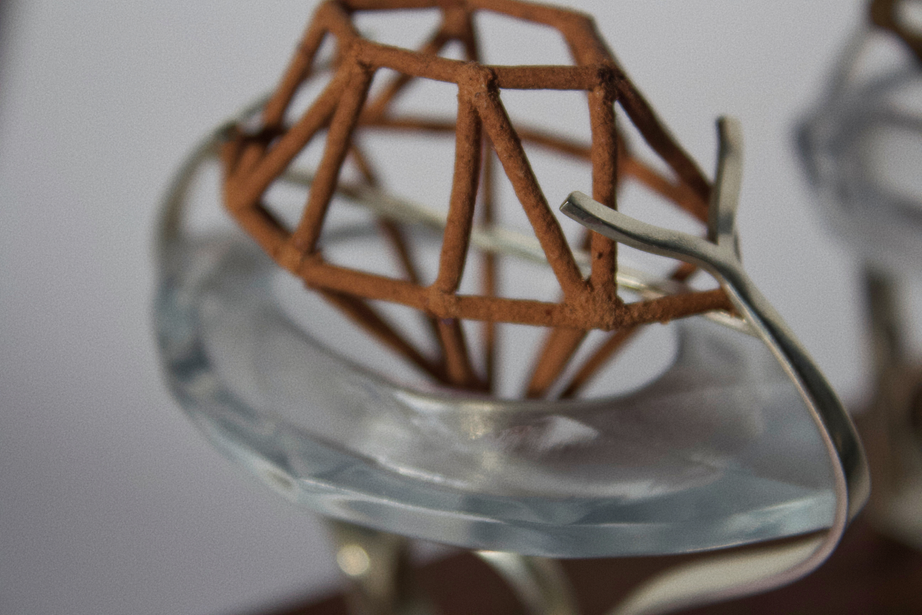
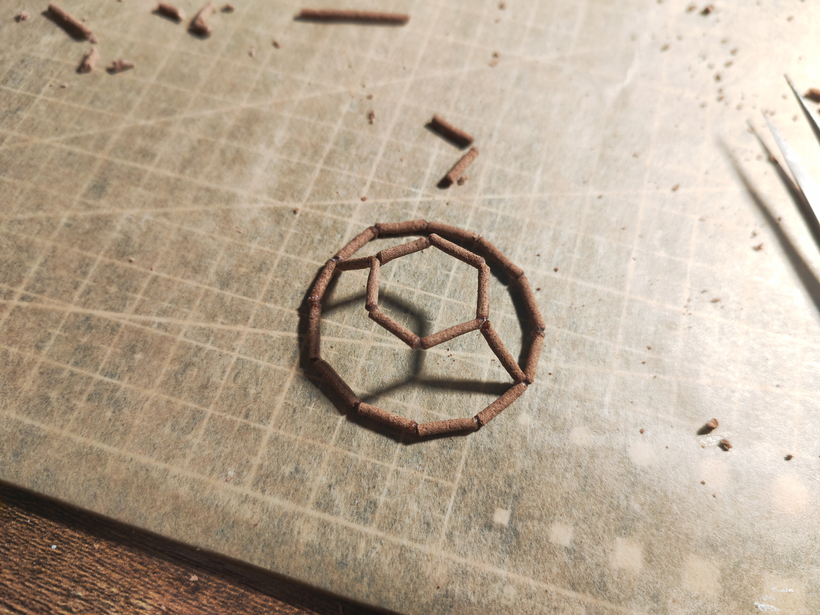
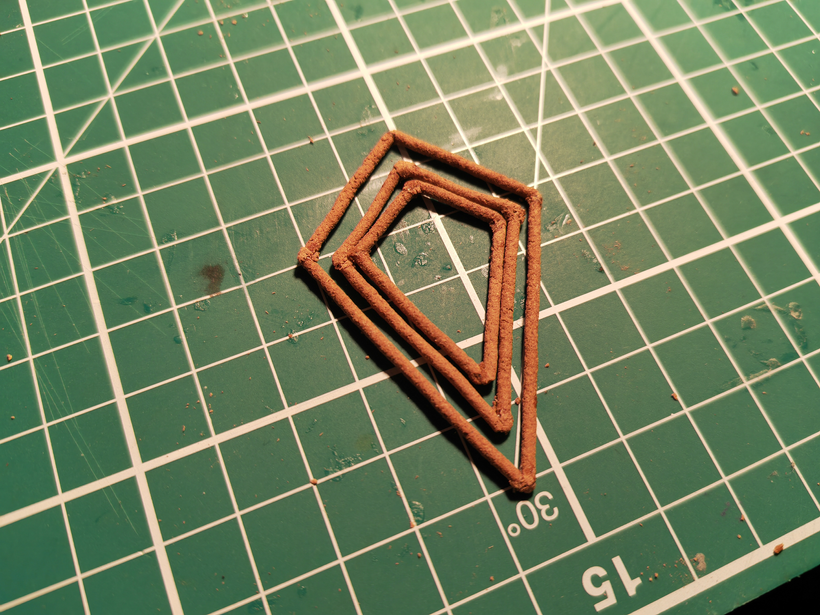
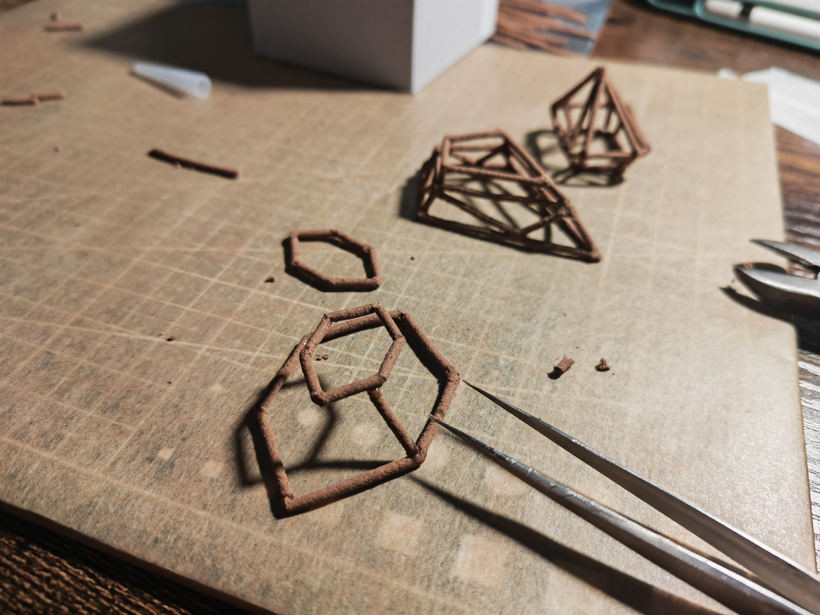
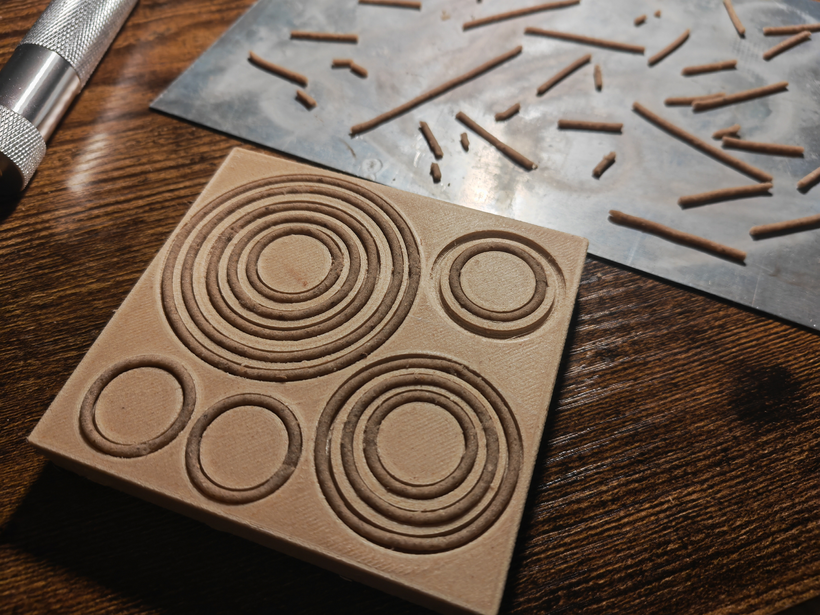
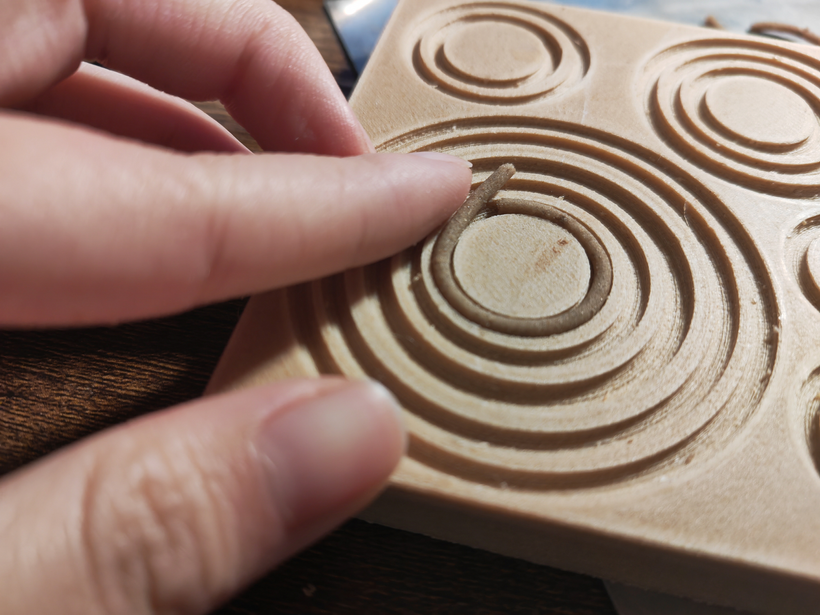
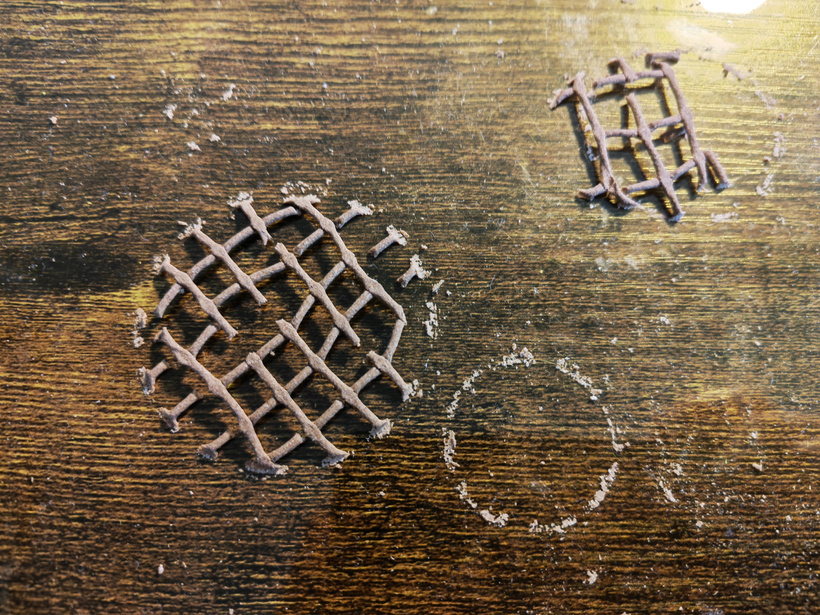
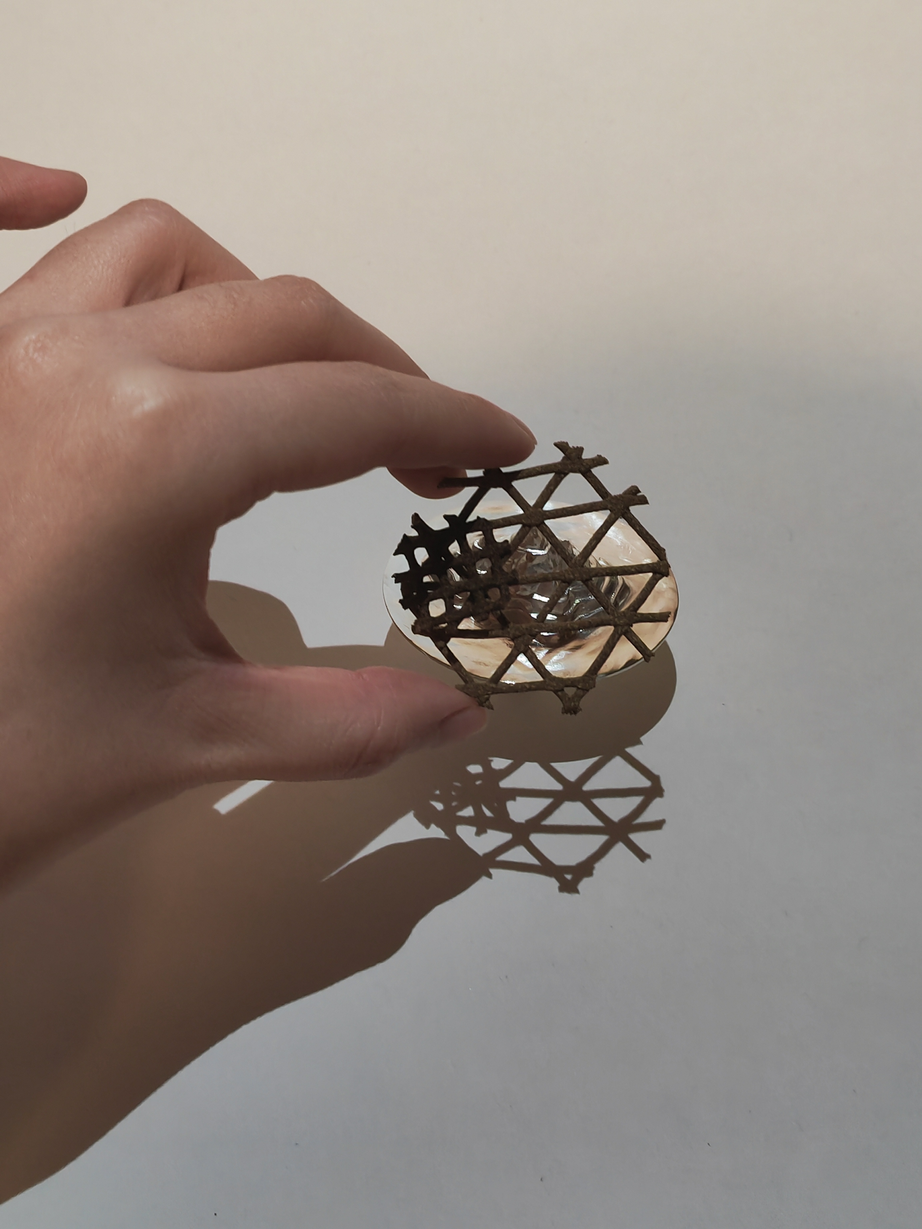
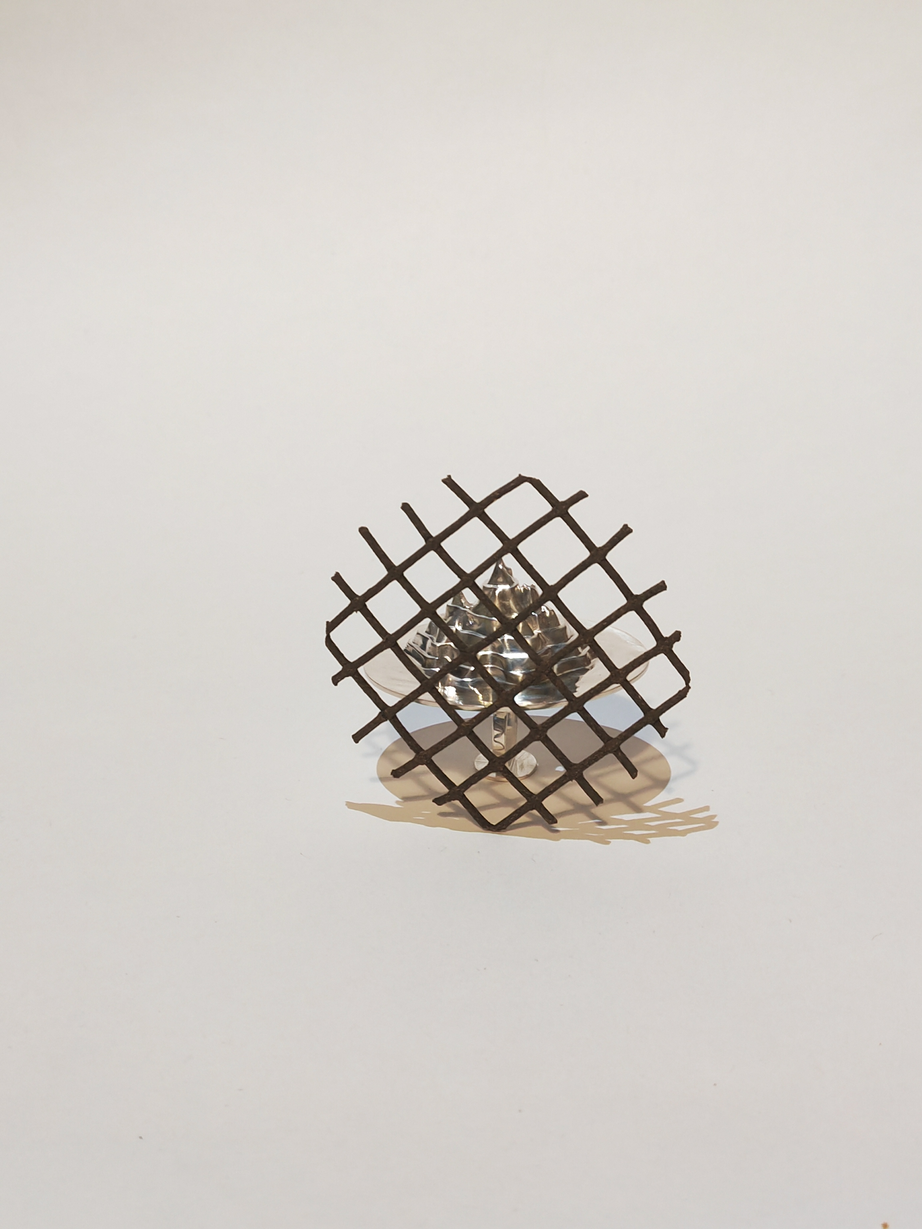
Having experimented with flat extrusion gluing, I started to experiment more visually with this method. Extruding a lattice or diamond shape for pressing, waiting for it to dry and then cutting it again for shaping.
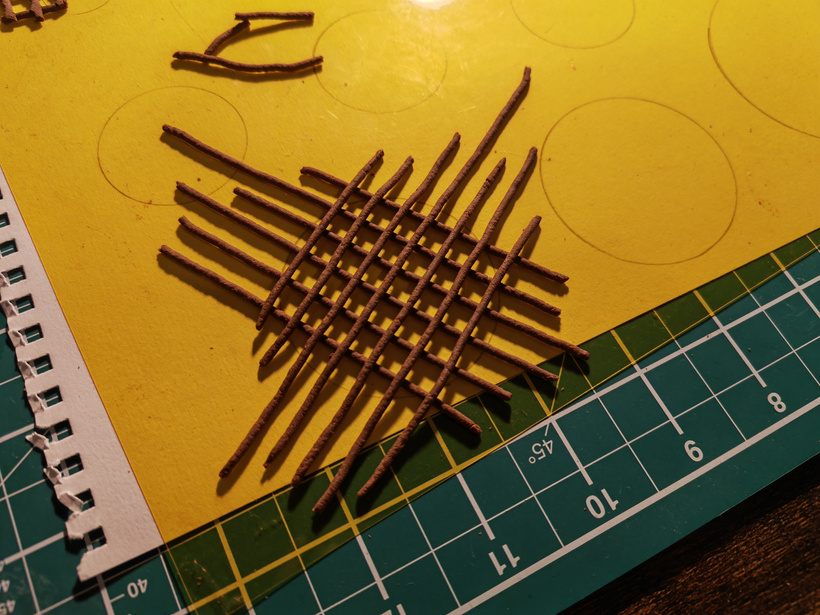
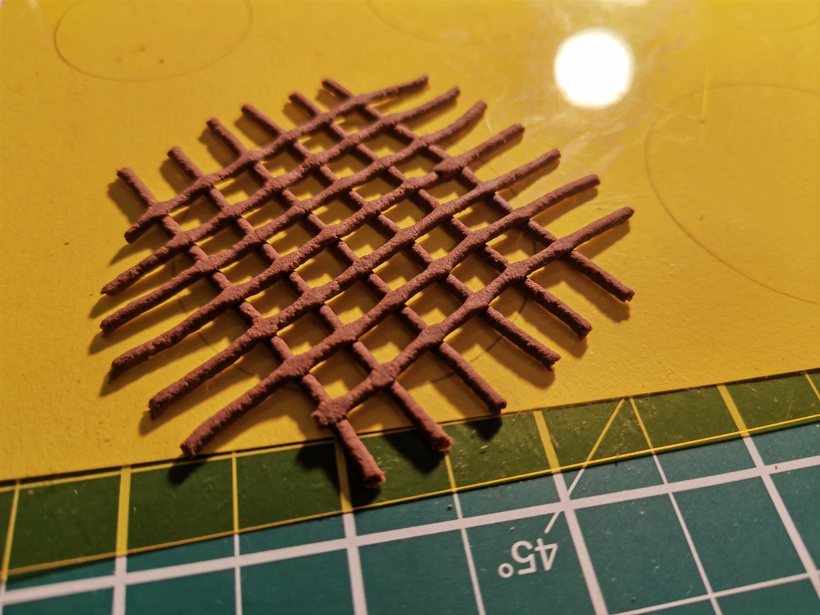
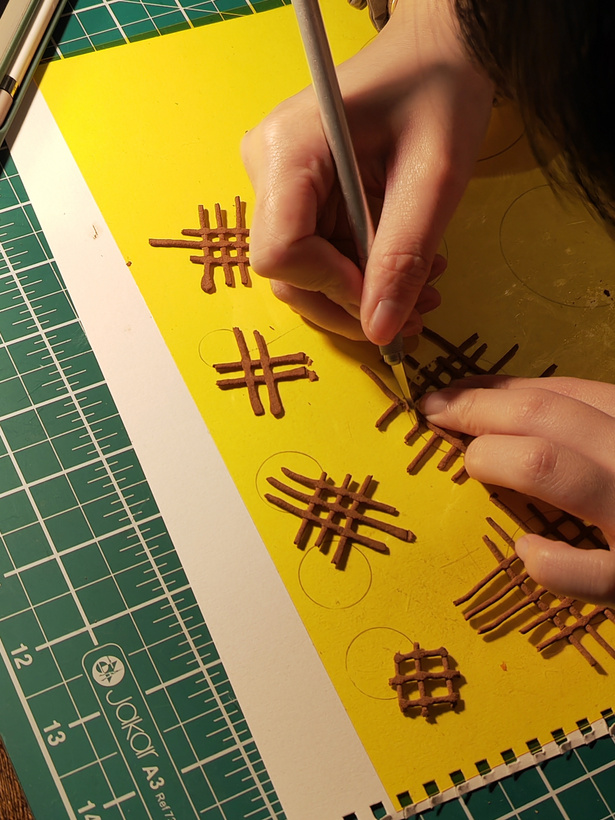
I experimented with more combinations using these flat shapes as a base element
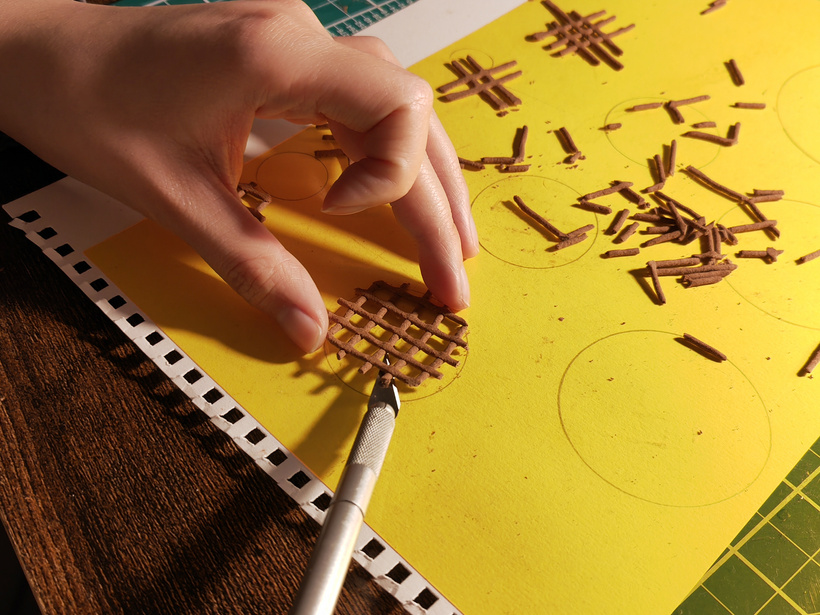
Problems.
Wet incense may stick to the substrate and shrinkage during drying can cause breakage
Solution.
Use a razor blade to peel off any incense stuck to the backing when it is semi-dry
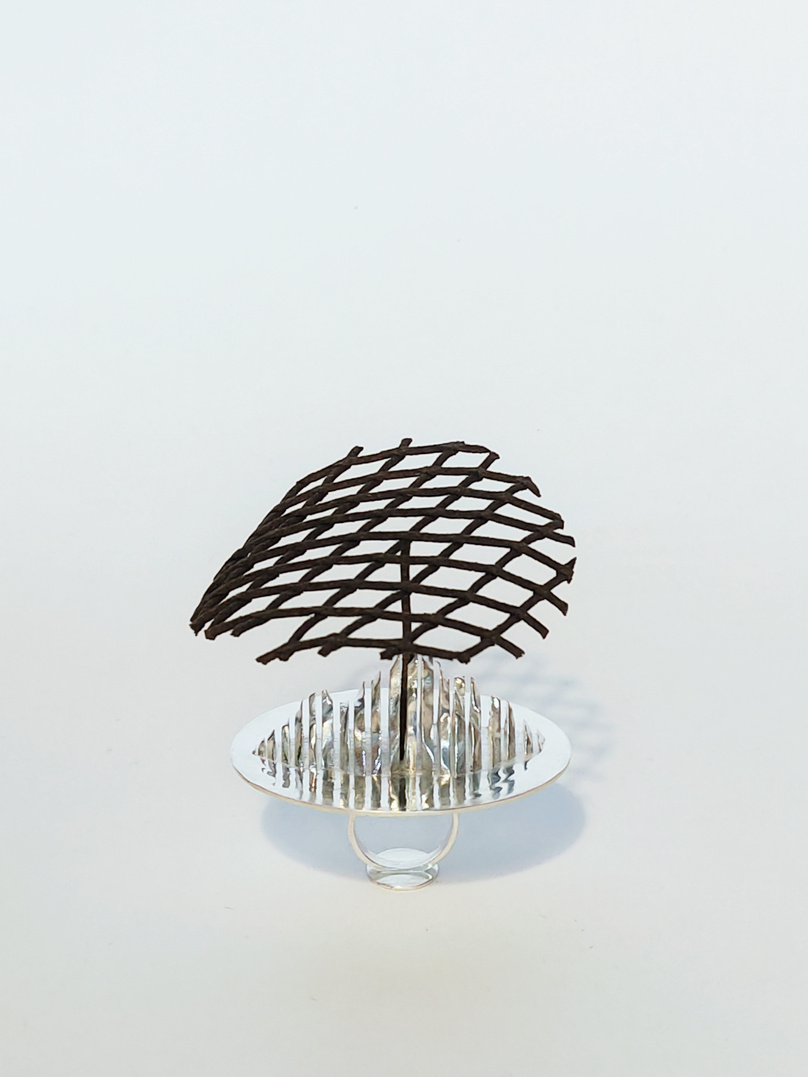
Shape experiment (2)
012
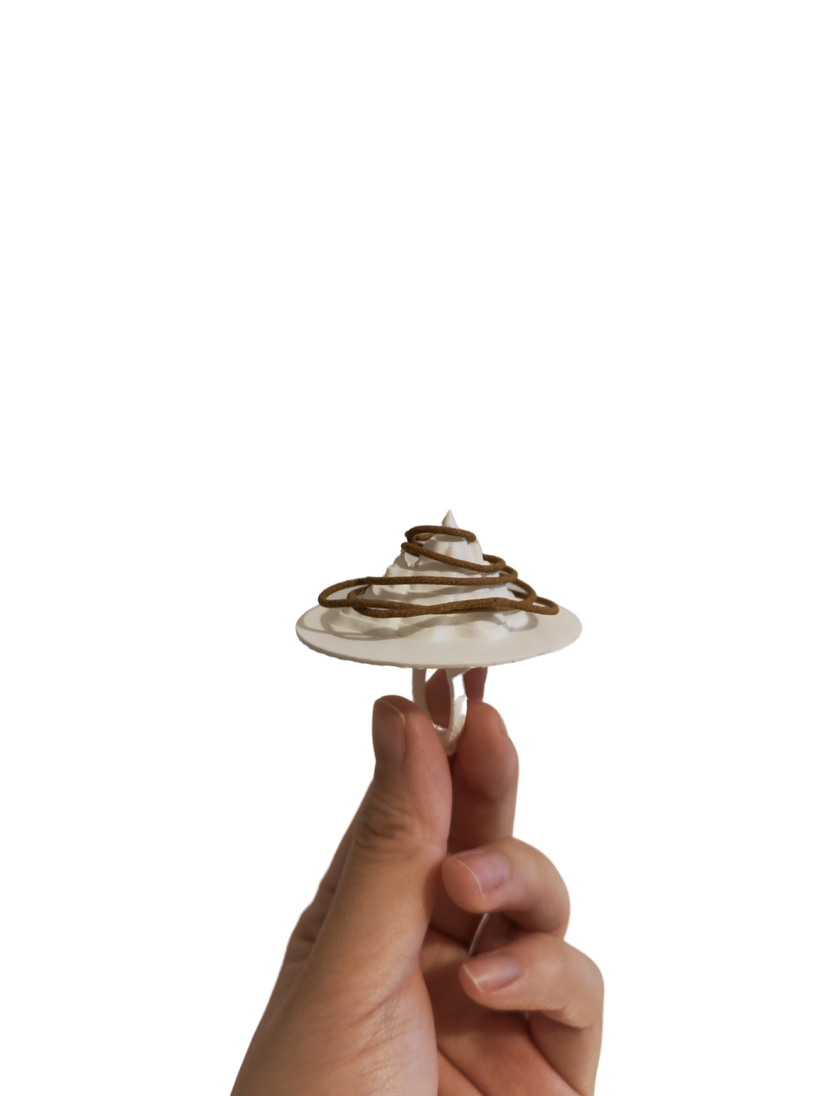
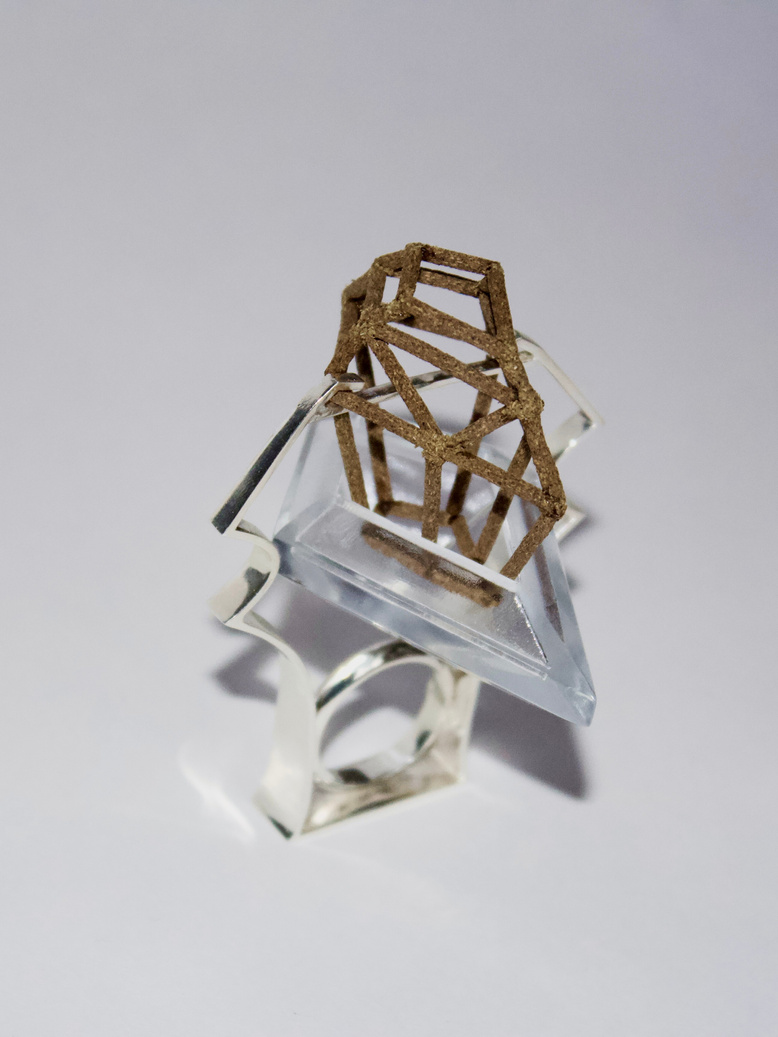
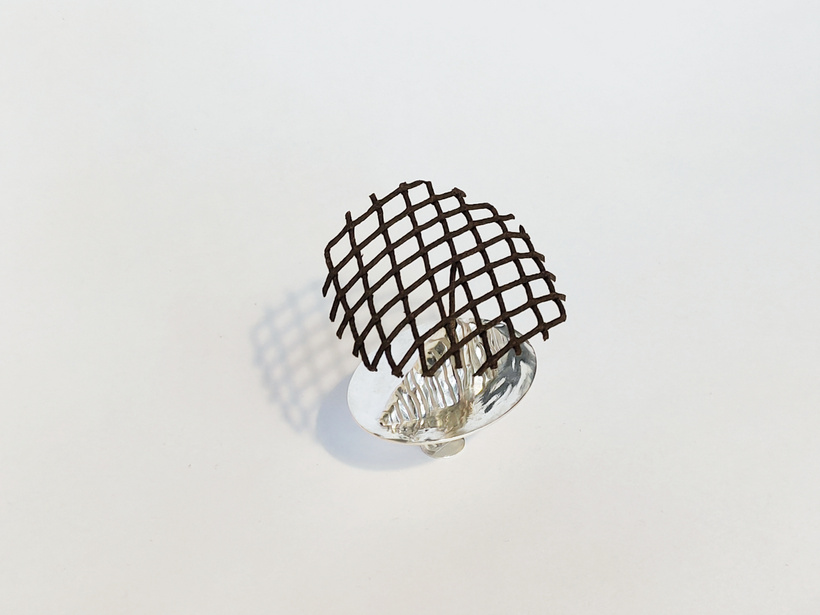
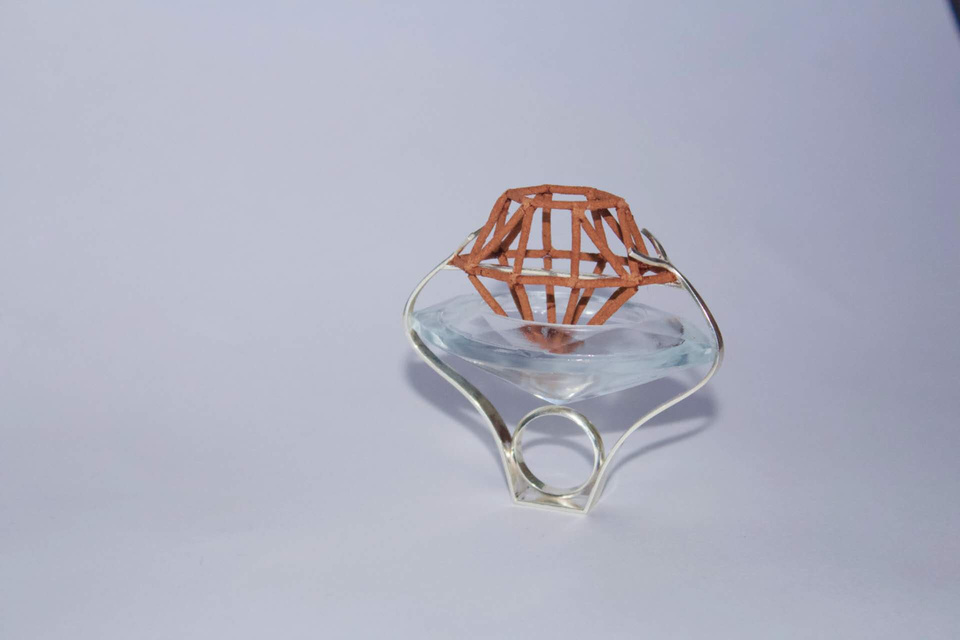
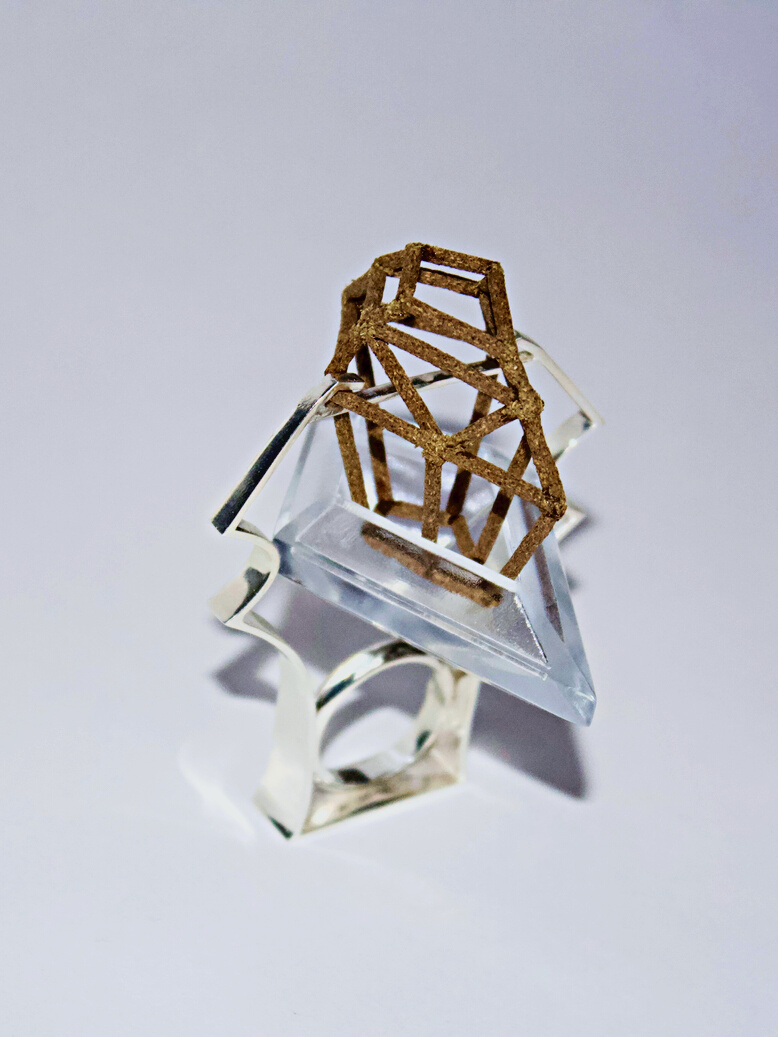
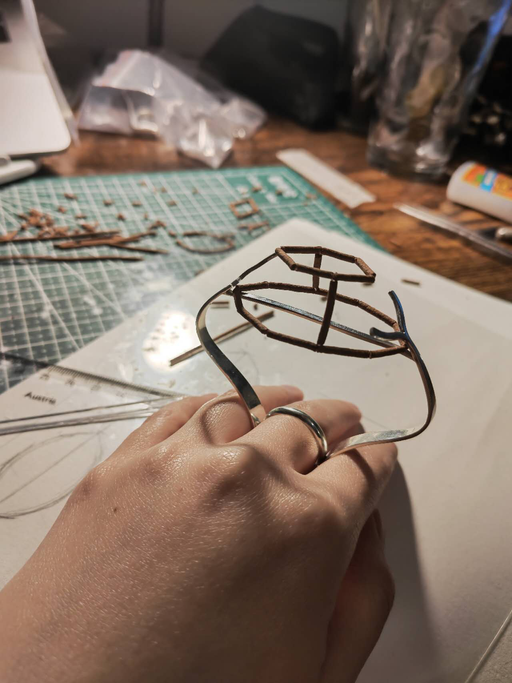
In order to be able to make the effect of a mask, I made a general test of the combination of incense and metal while making the effect.
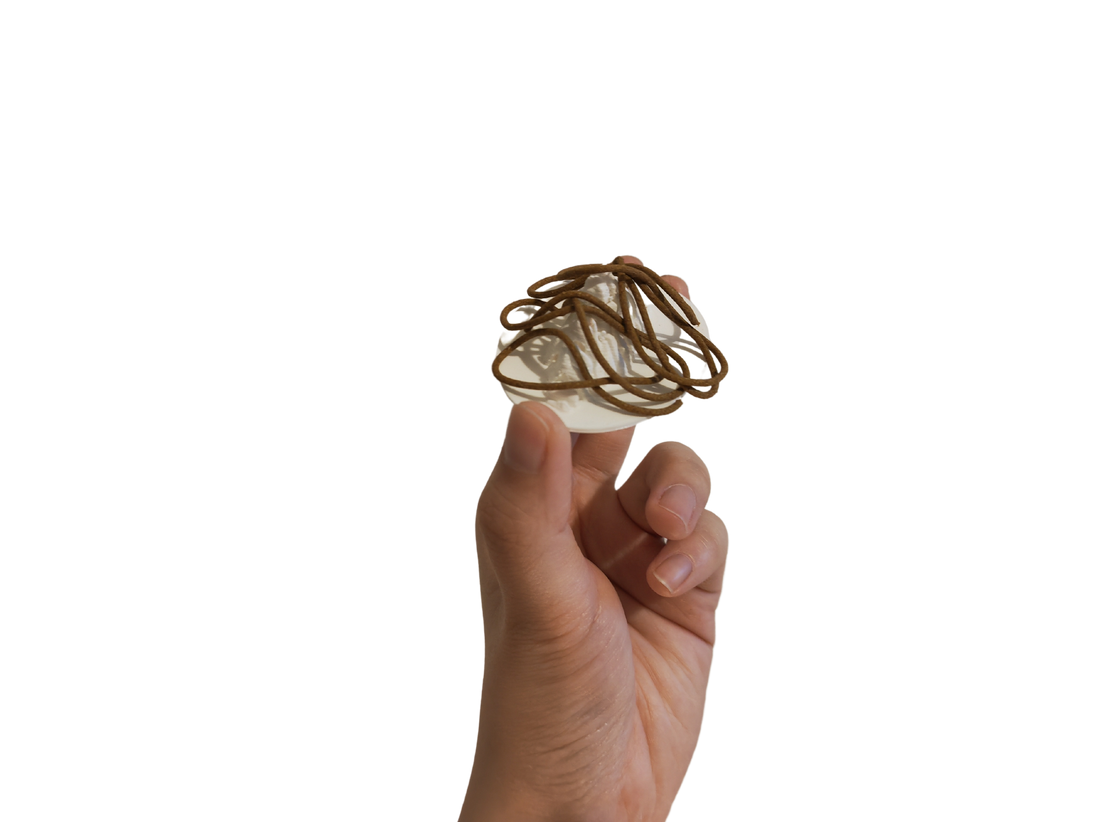
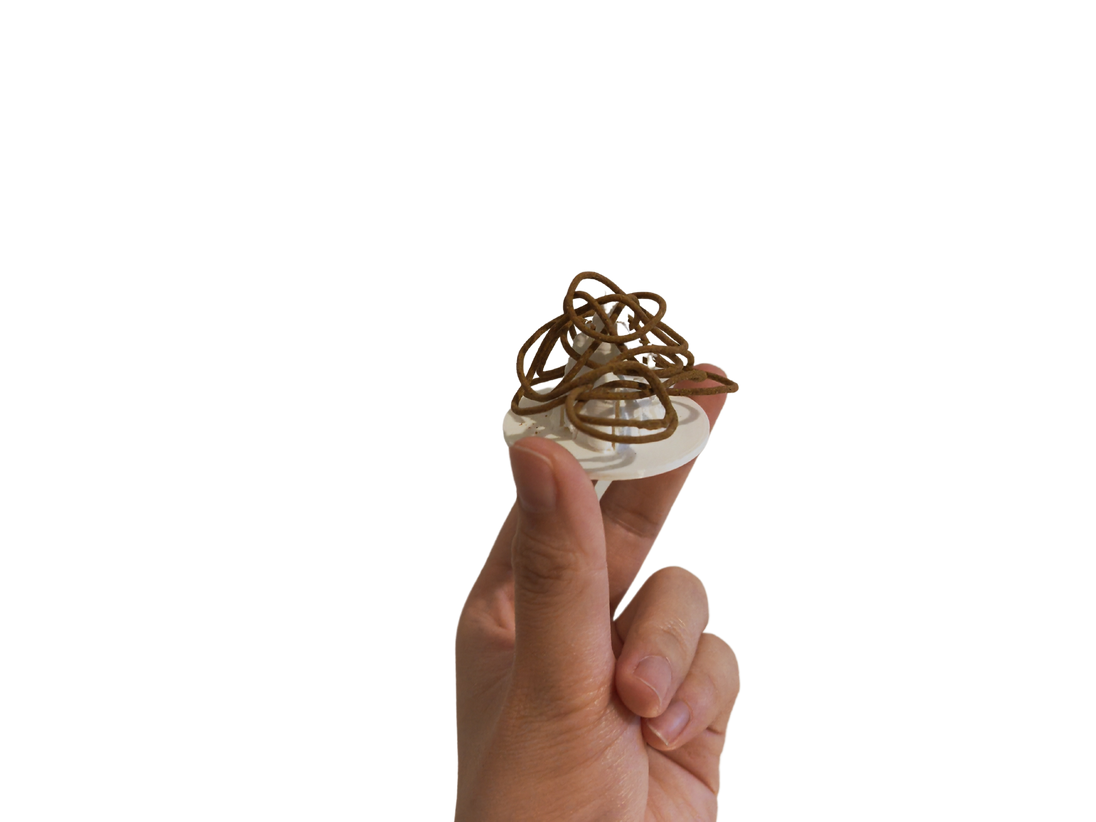
Method 1, squeeze the wet incense over the metal and allow it to form to the shape of the metal
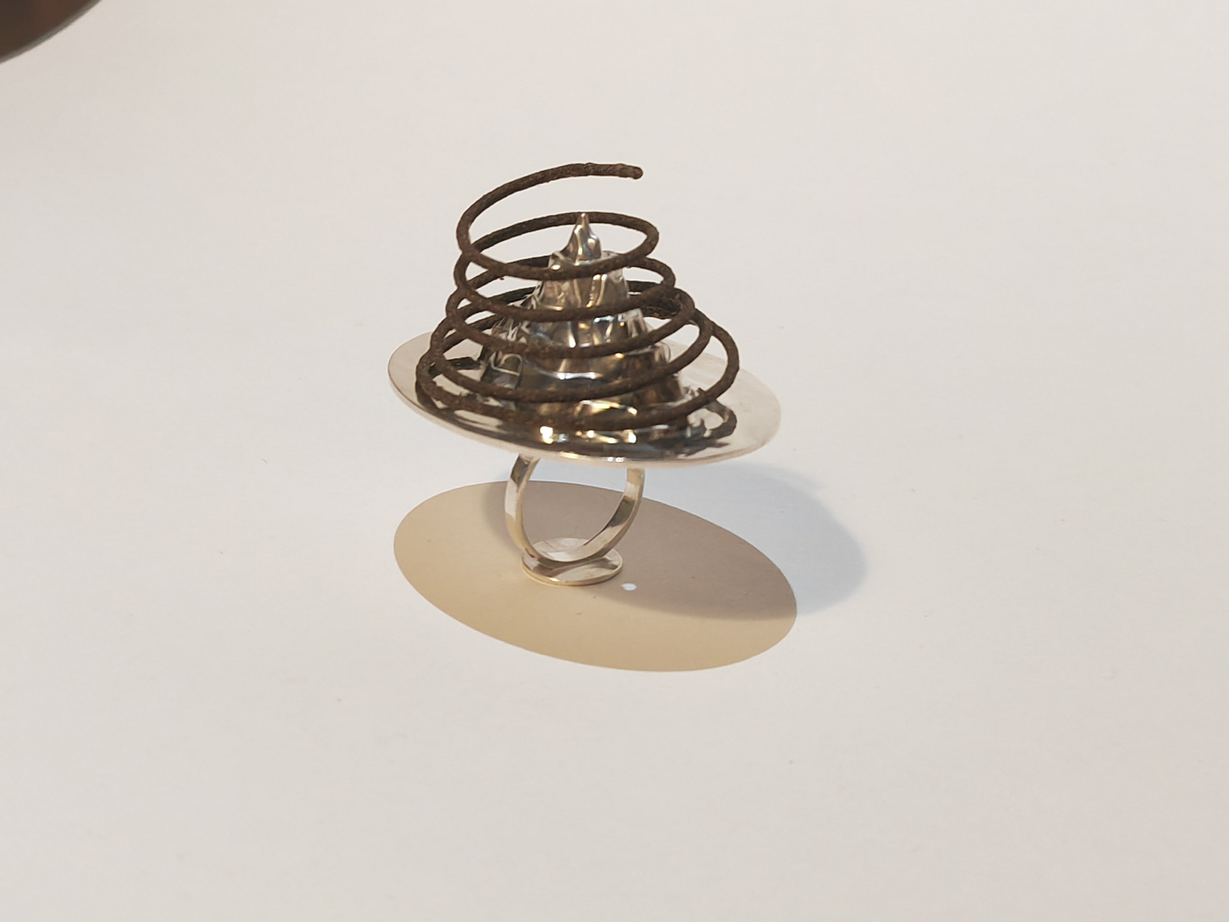
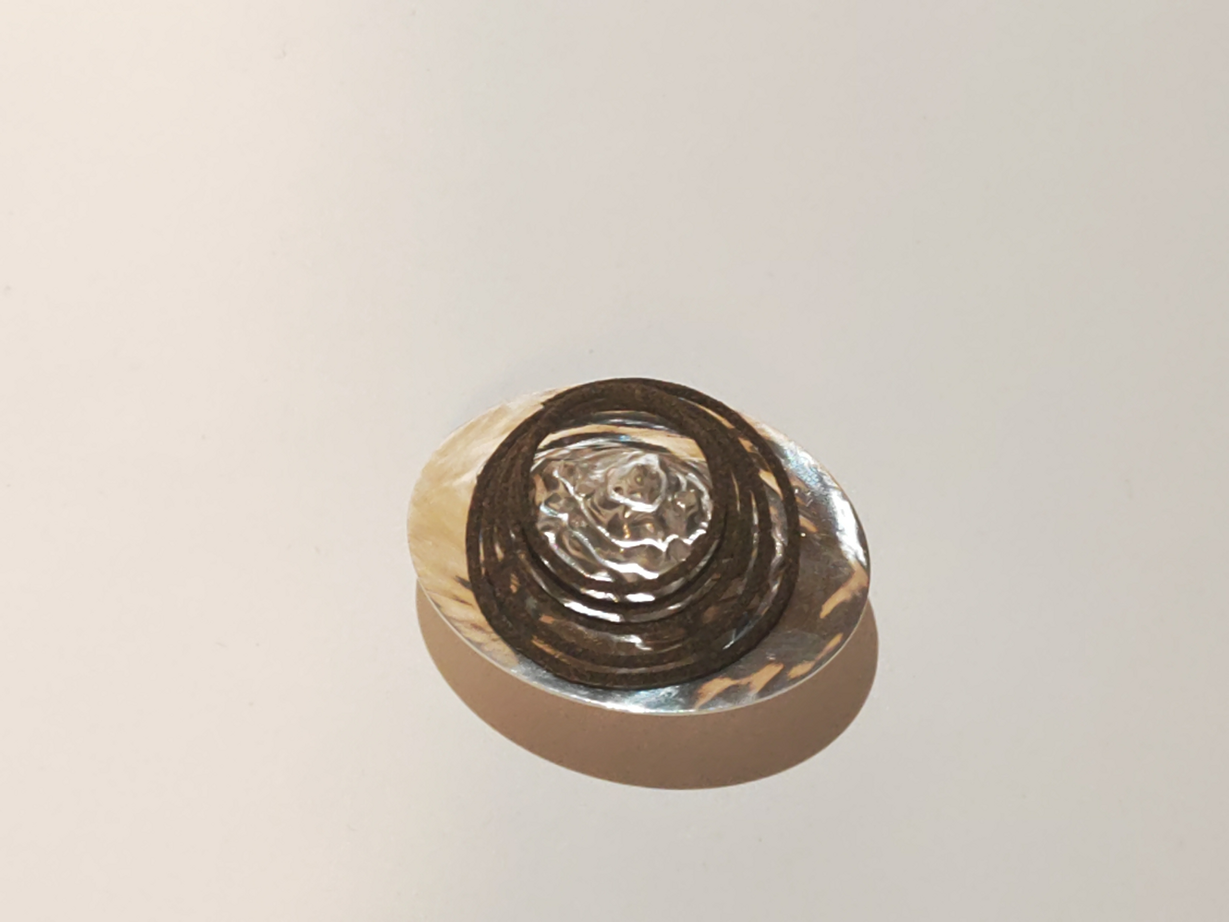
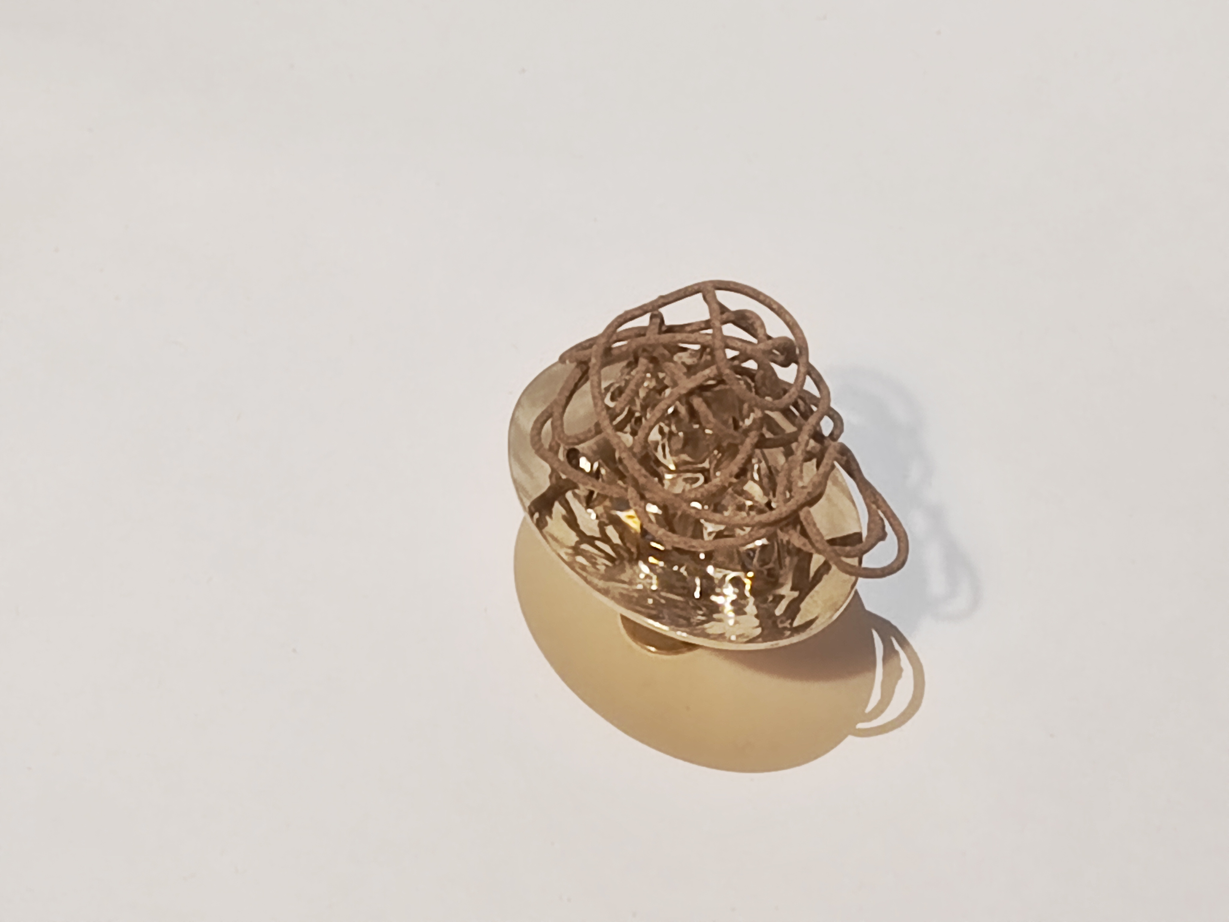
Method 2, combining incense and metal after making incense alone
I like the process of method one, where the shape of the metal is associated with the fragrance, but the problem with it is that the two shapes are too similar and don't feel airy.
Method two achieves my vision of shading the metal part, but needs to think of a good combination of shapes to make it look more aesthetically pleasing. Perhaps a reference to the lighter stacking structure of the clouds would be a good idea
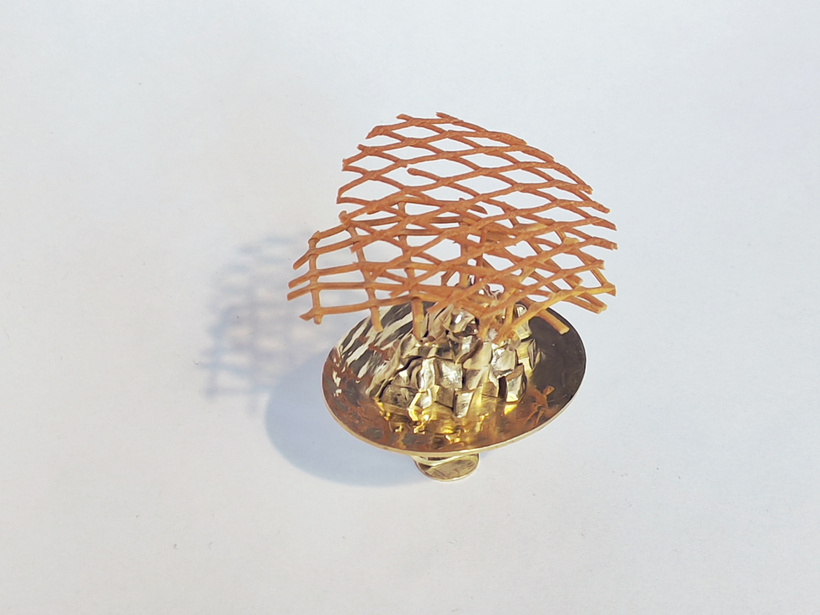
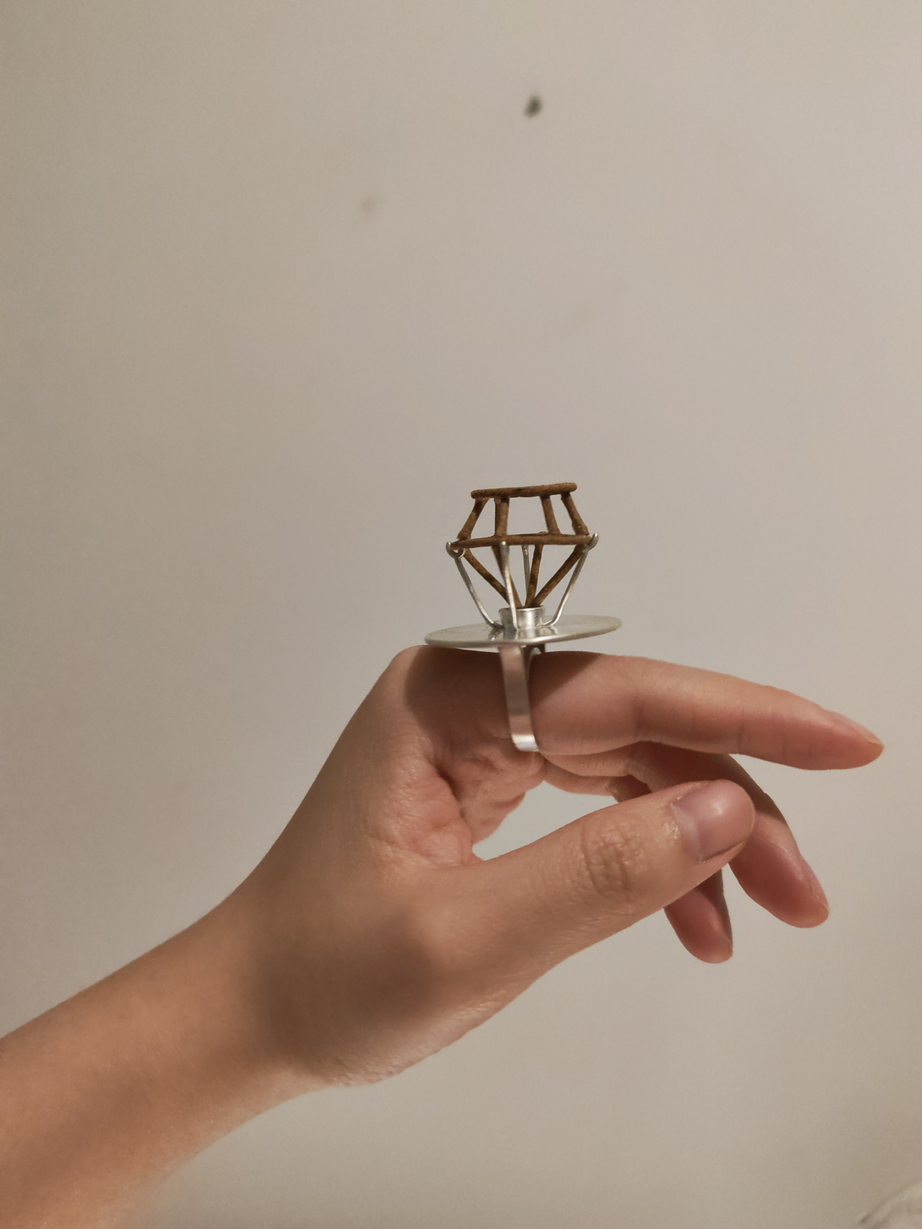
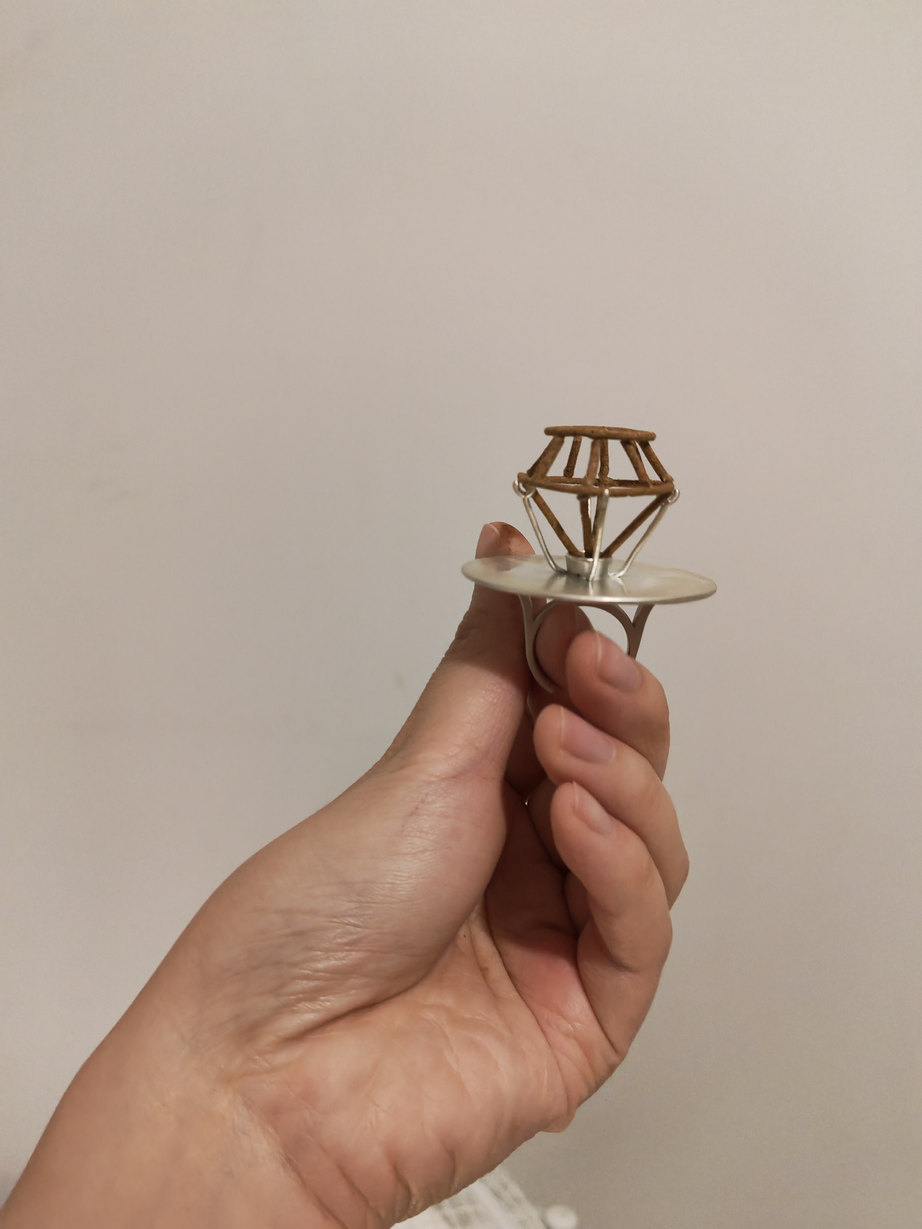
Shape experiment (3)
013
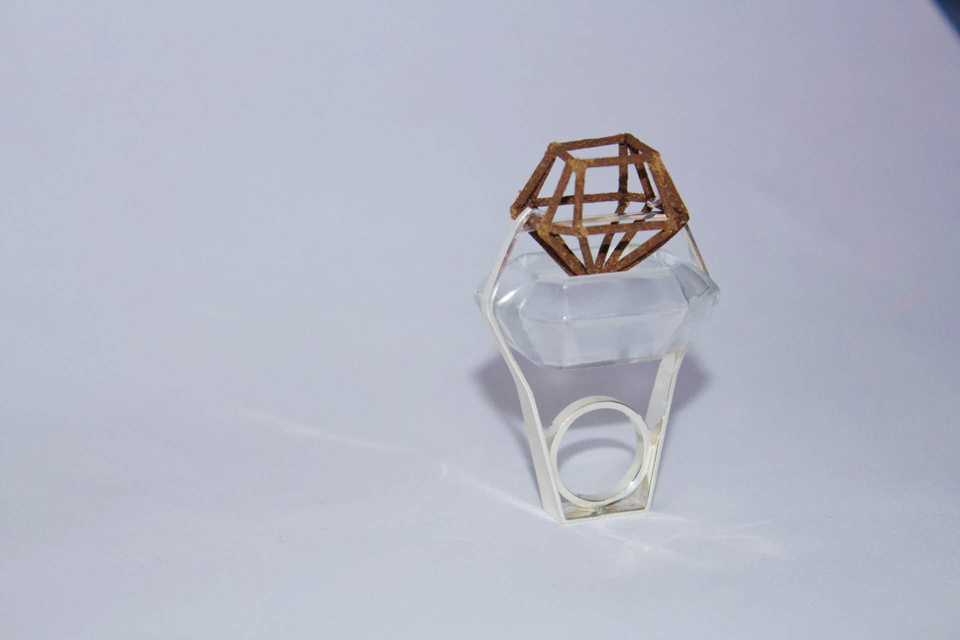
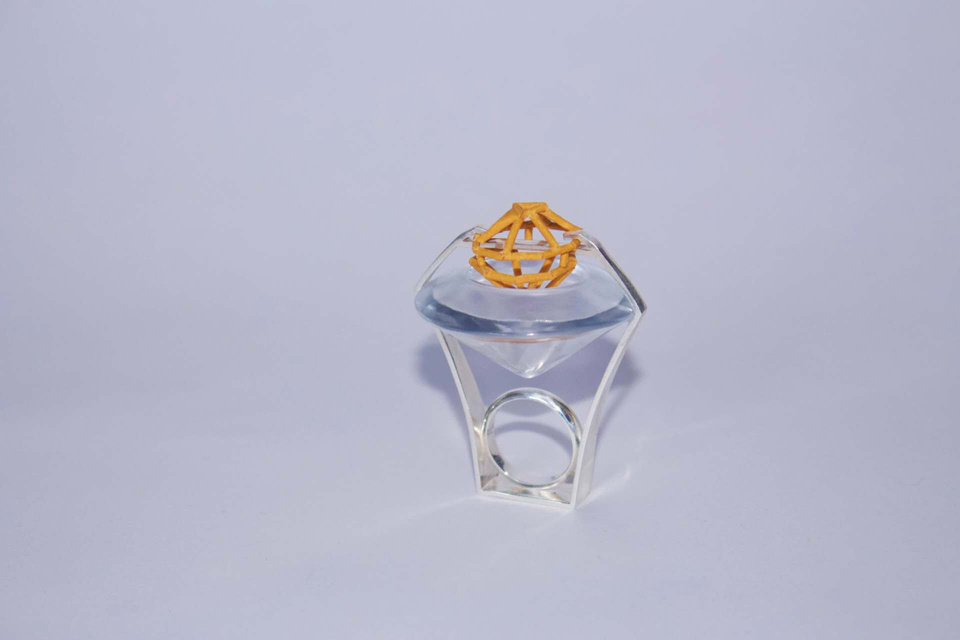
To test the burning effect of the final version of the gem incense, I shot a video.
The advice I got from tony after looking at it was to set up two camera positions, one for distance shots and one for close ups. This way you can balance the overall effect with the burning details
Making process (1)
014
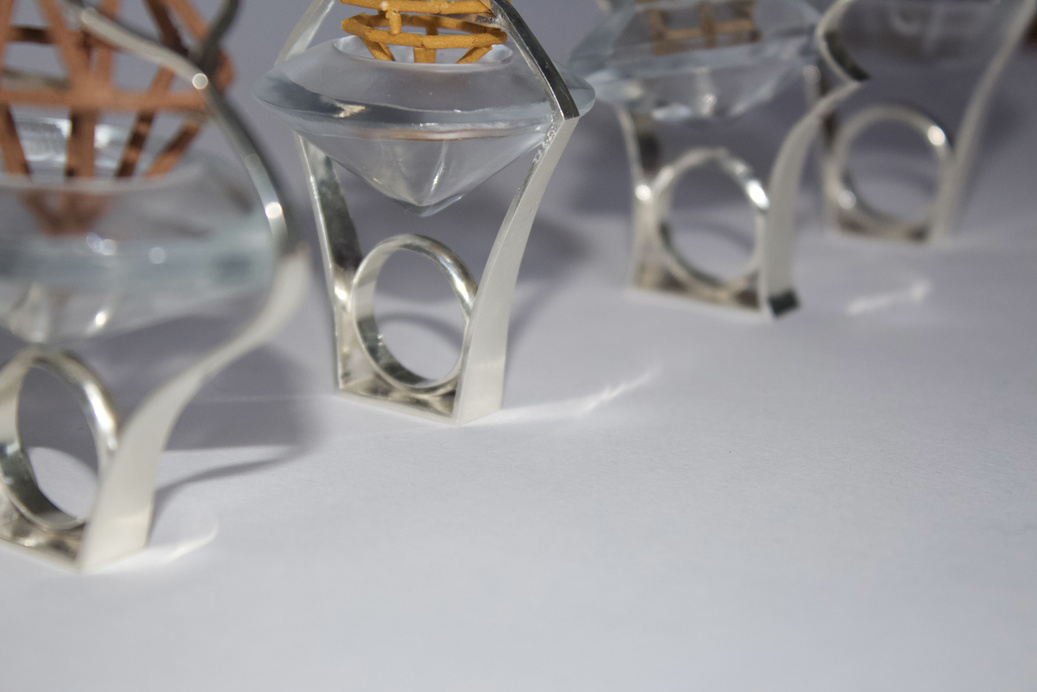
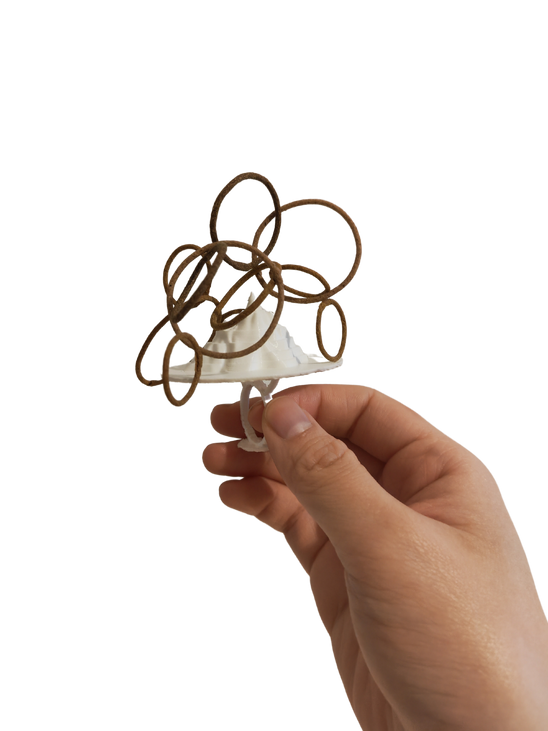
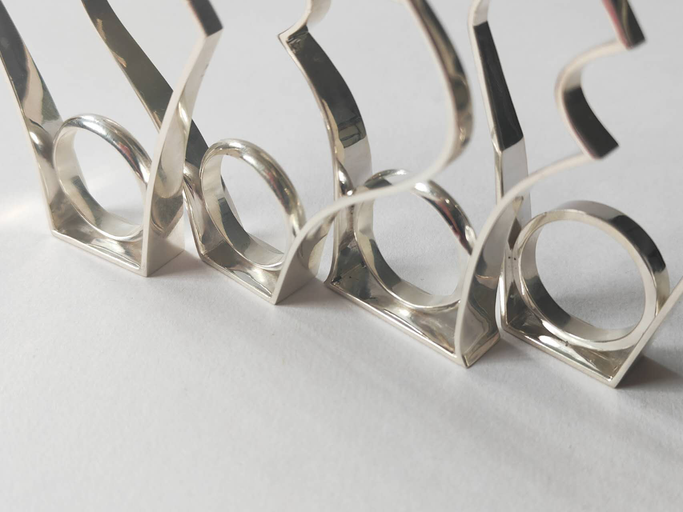
For the metal part I chose to 3D model, print the wax material and then cast it into silver. I designed a sample first in order to test the structure of the inlay incense.
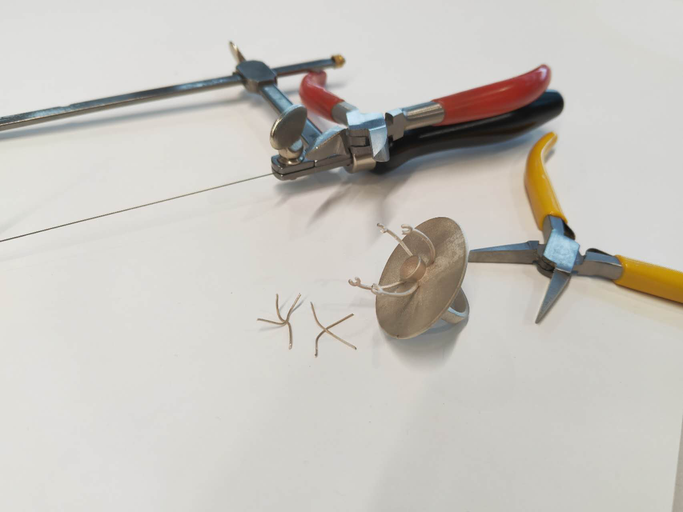

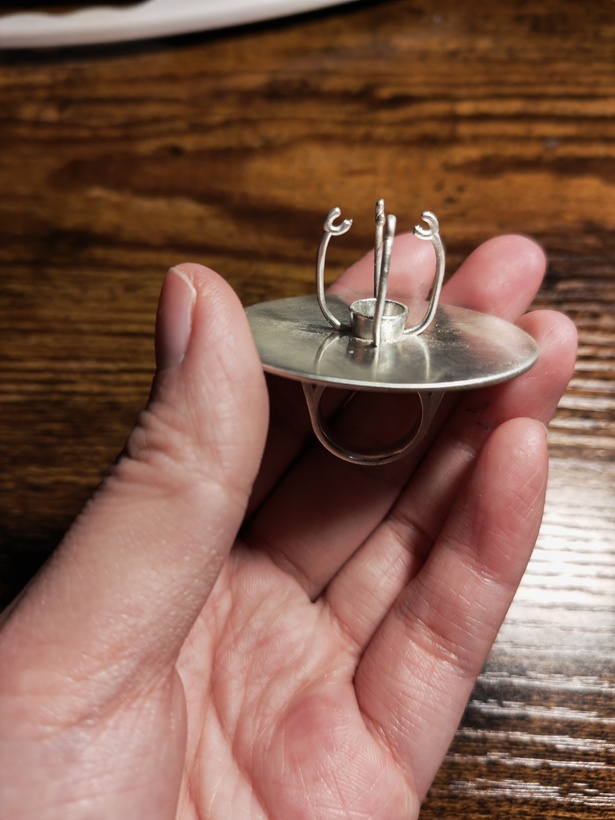
This structure proved to be reasonable, to save costs for the other samples I printed in PLA
Making process (2)
015
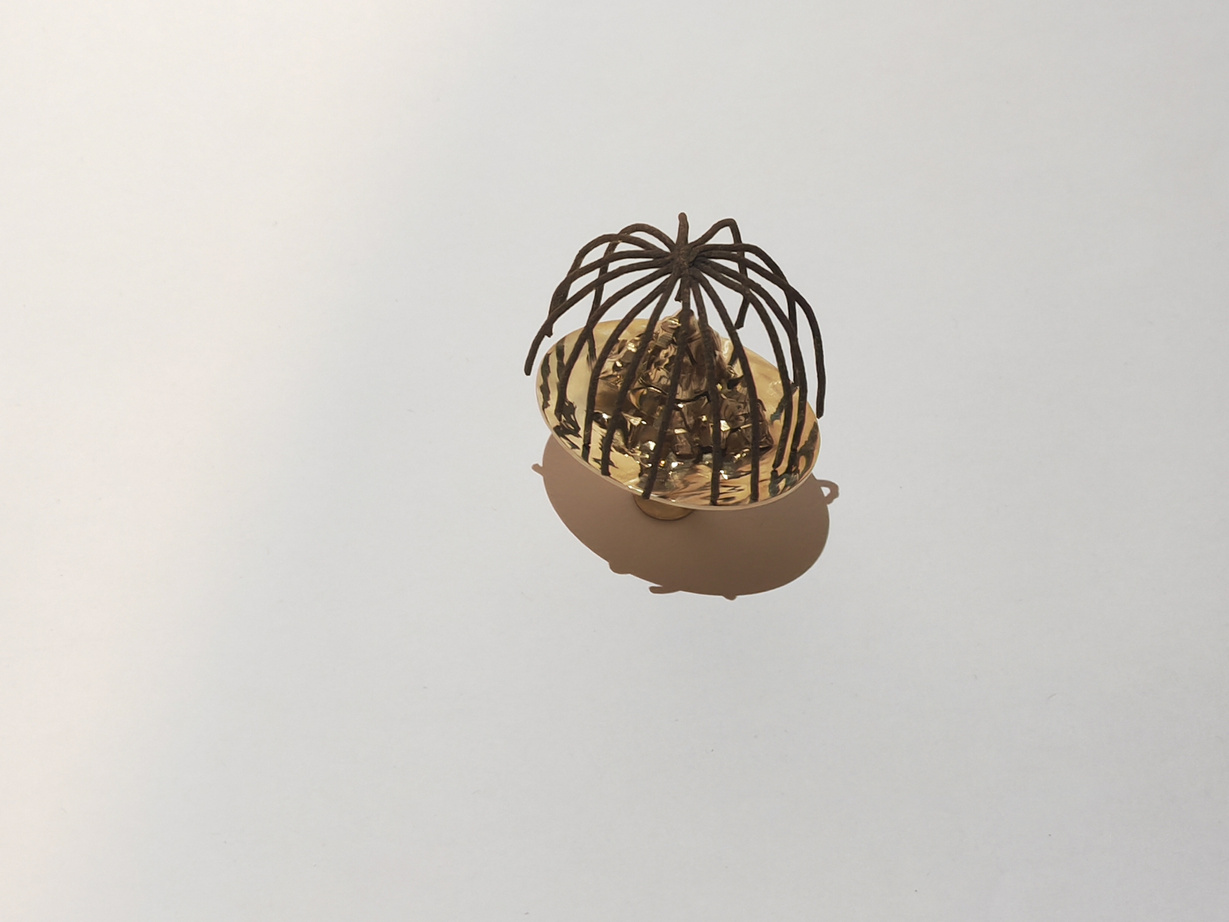
To make the finished product I need to finish the upper part of the incense in the shape of a jewel and then finish the lower part on the metal structure. So I had to finish polishing the resin container and the metal parts before assembly. The resin is polished very well with a glass polishing solution
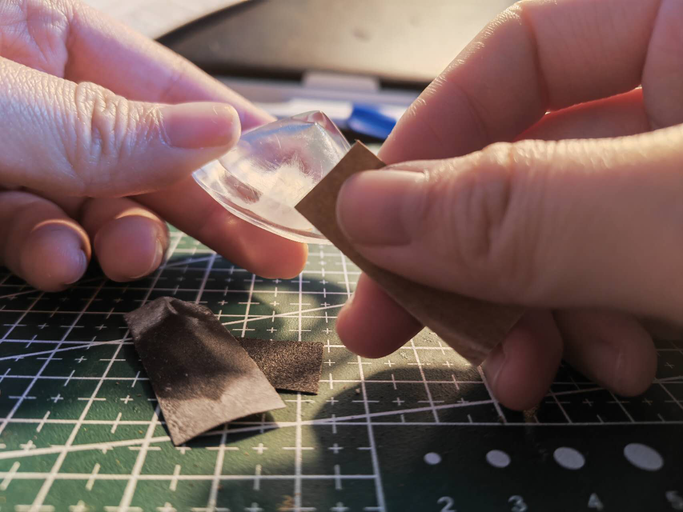
polish metal
Polish resin
Glue insence
Assemble
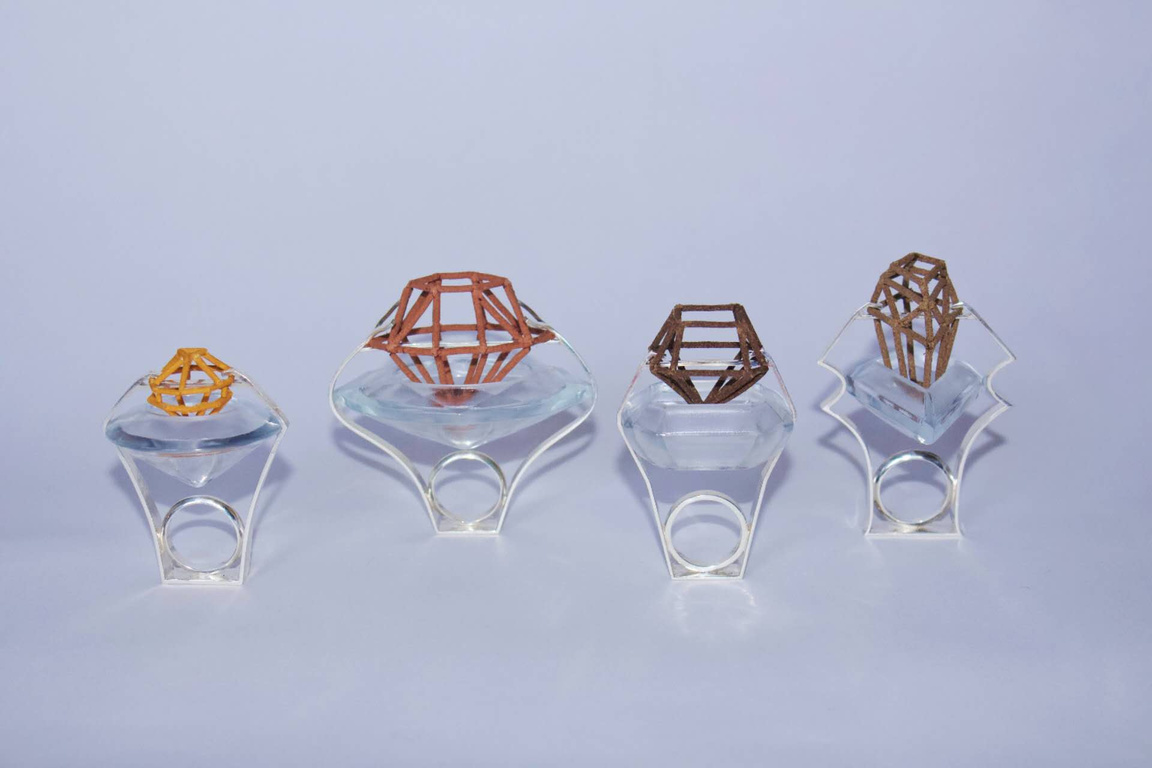
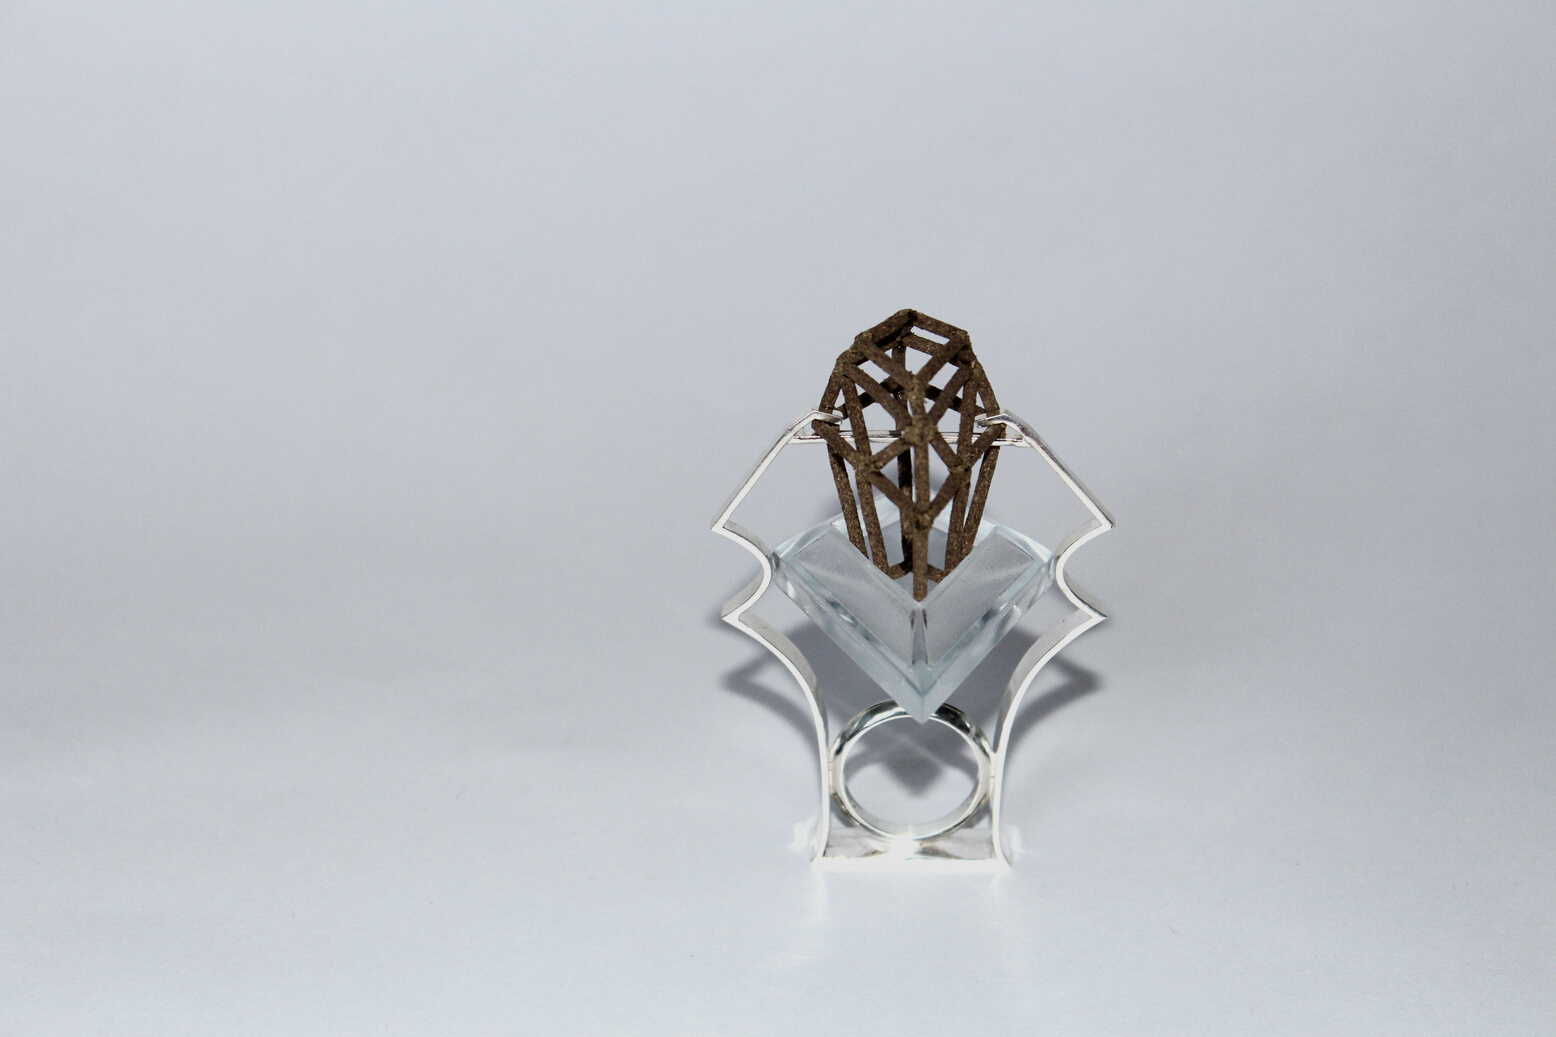
Final pieces
Photography
016